Synoptics allow you to control and monitor your integrations more efficiently, combining GPS maps, images, and the unification of all available resources on the platform.
Creating a New Synoptic
1. Access Tree View
-
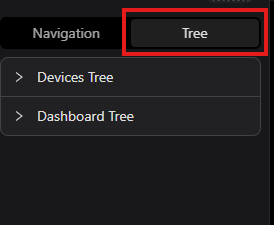
In the side navigation bar of the dashboard, select the "Tree" option.
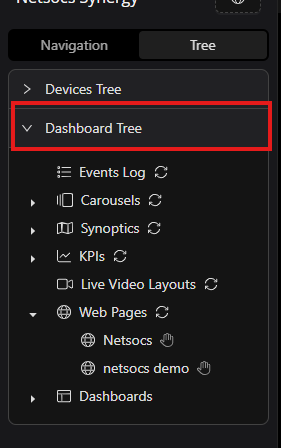
2. Open the Dashboard Tree
-
Navigate through the dashboard's hierarchical structure to manage available elements.
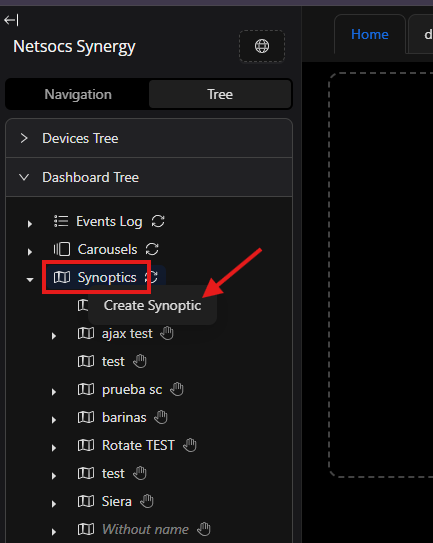
3. Create a New Synoptic
- Right-click on the "Synoptics" folder.
-
Select "Create synoptic" from the context menu.
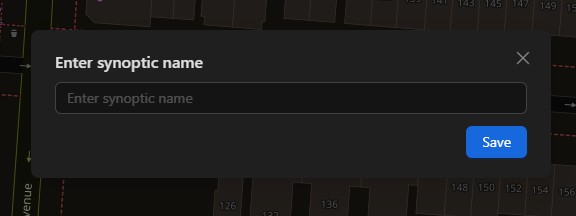
4. Configure the Synoptic
- The synoptic editor will automatically open.
-
On first use, the system will prompt you to enter a name for the new synoptic.
5. Define the Map Location
- Locate the address search bar in the upper left corner of the editor.
-
Enter the geographic location you want to represent in the synoptic.
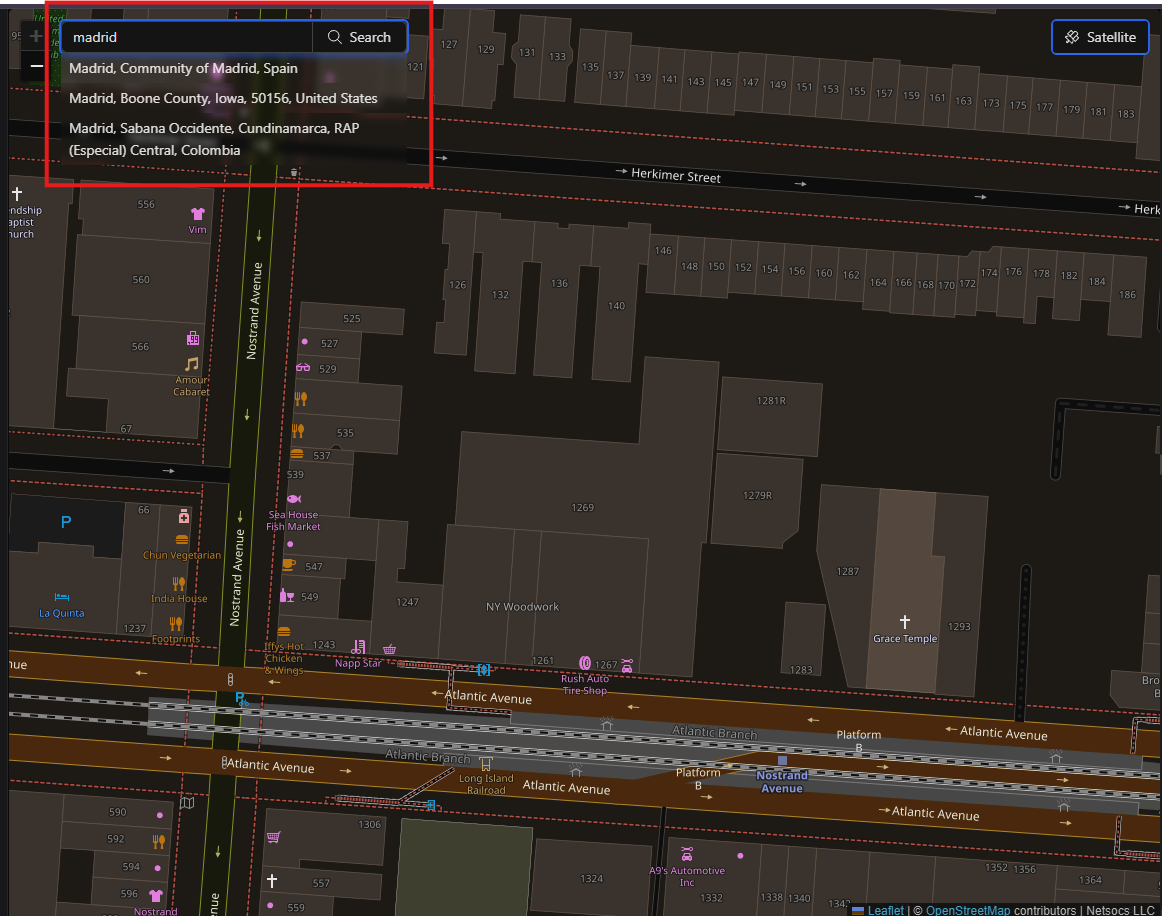
6. Change the Map View Type
-
In the upper right corner of the map:
- Use the toggle button to switch between:
- Satellite view
- Street view
- Use the toggle button to switch between:
7. Add Objects to the Synoptic
- Access the device tree.
- Find the object you want to include.
-
Drag and drop the element to the desired position within the map.
7. Select an Icon on the Map and Change Rotation Angle
- By left-clicking on an icon already added to the synoptic, the options menu will be enabled to rotate the icon. This menu is located in the right panel of the Editor.
-
There are different properties that can be modified on the icon. In this case, you can 'play' with the rotation angle to adjust as needed, among other properties such as size, invert the icon, etc.
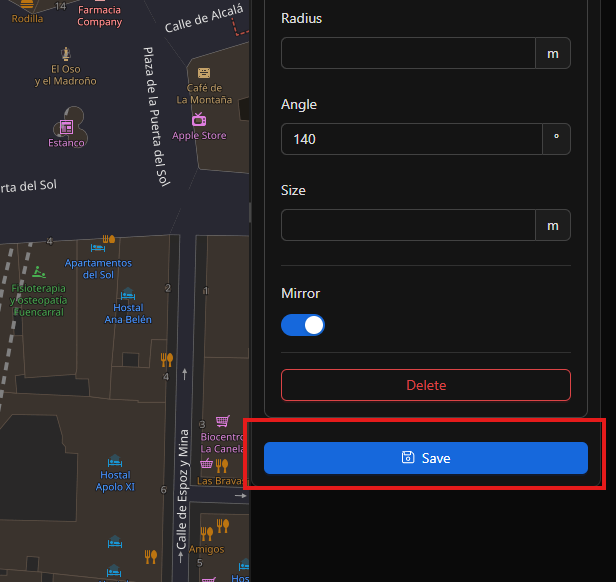
8. Save the Synoptic
-
Clicking the 'Save' button will save the changes made to the synoptic.
9. View Synoptic on Dashboard
-
In the synoptics tree, you will now be able to see your created synoptic. You just need to drag and drop it into an empty widget to interact with it.
Note
You must always press the 'Save' button for changes to be saved.