Devices
Devices are the physical or virtual elements that connect to Netsocs to provide specific functionalities. Each device represents a tangible component in your infrastructure that can be monitored, controlled, and automated through the system.
What is a Device?
A device in Netsocs is any hardware or software element that integrates with the system to provide data, receive commands, or execute specific actions. These devices can be security cameras, environmental sensors, lighting controllers, access panels, or any other equipment requiring centralized management.
Devices are fundamental because:
- They provide real-time data: Capture information from the physical environment for analysis and decision-making.
- They execute automatic actions: Receive commands from the system to perform specific tasks.
- They enable automation: Serve as the foundation for creating intelligent rules and workflows.
- They facilitate monitoring: Offer complete visibility of your infrastructure's status.
Types of Devices in Netsocs
Netsocs supports a wide variety of devices that can be classified according to their function:
Security Devices
- IP Cameras: For video surveillance and visual monitoring.
- Motion sensors: To detect presence in specific areas.
- Access panels: For entry and exit control.
- Opening sensors: To monitor doors and windows.
Control Devices
- Lighting controllers: To manage lighting systems.
- Thermostats: For temperature and HVAC control.
- Actuators: To automate physical mechanisms.
- Smart switches: For electrical equipment control.
Monitoring Devices
- Temperature sensors: For environmental control.
- Humidity sensors: For condition monitoring.
- Air quality sensors: For healthy environments.
- Energy meters: For energy efficiency.
Device Registration Process
The process of registering devices in Netsocs is a structured procedure that ensures the correct integration of each element. This process ensures that all devices are properly configured and ready to operate.
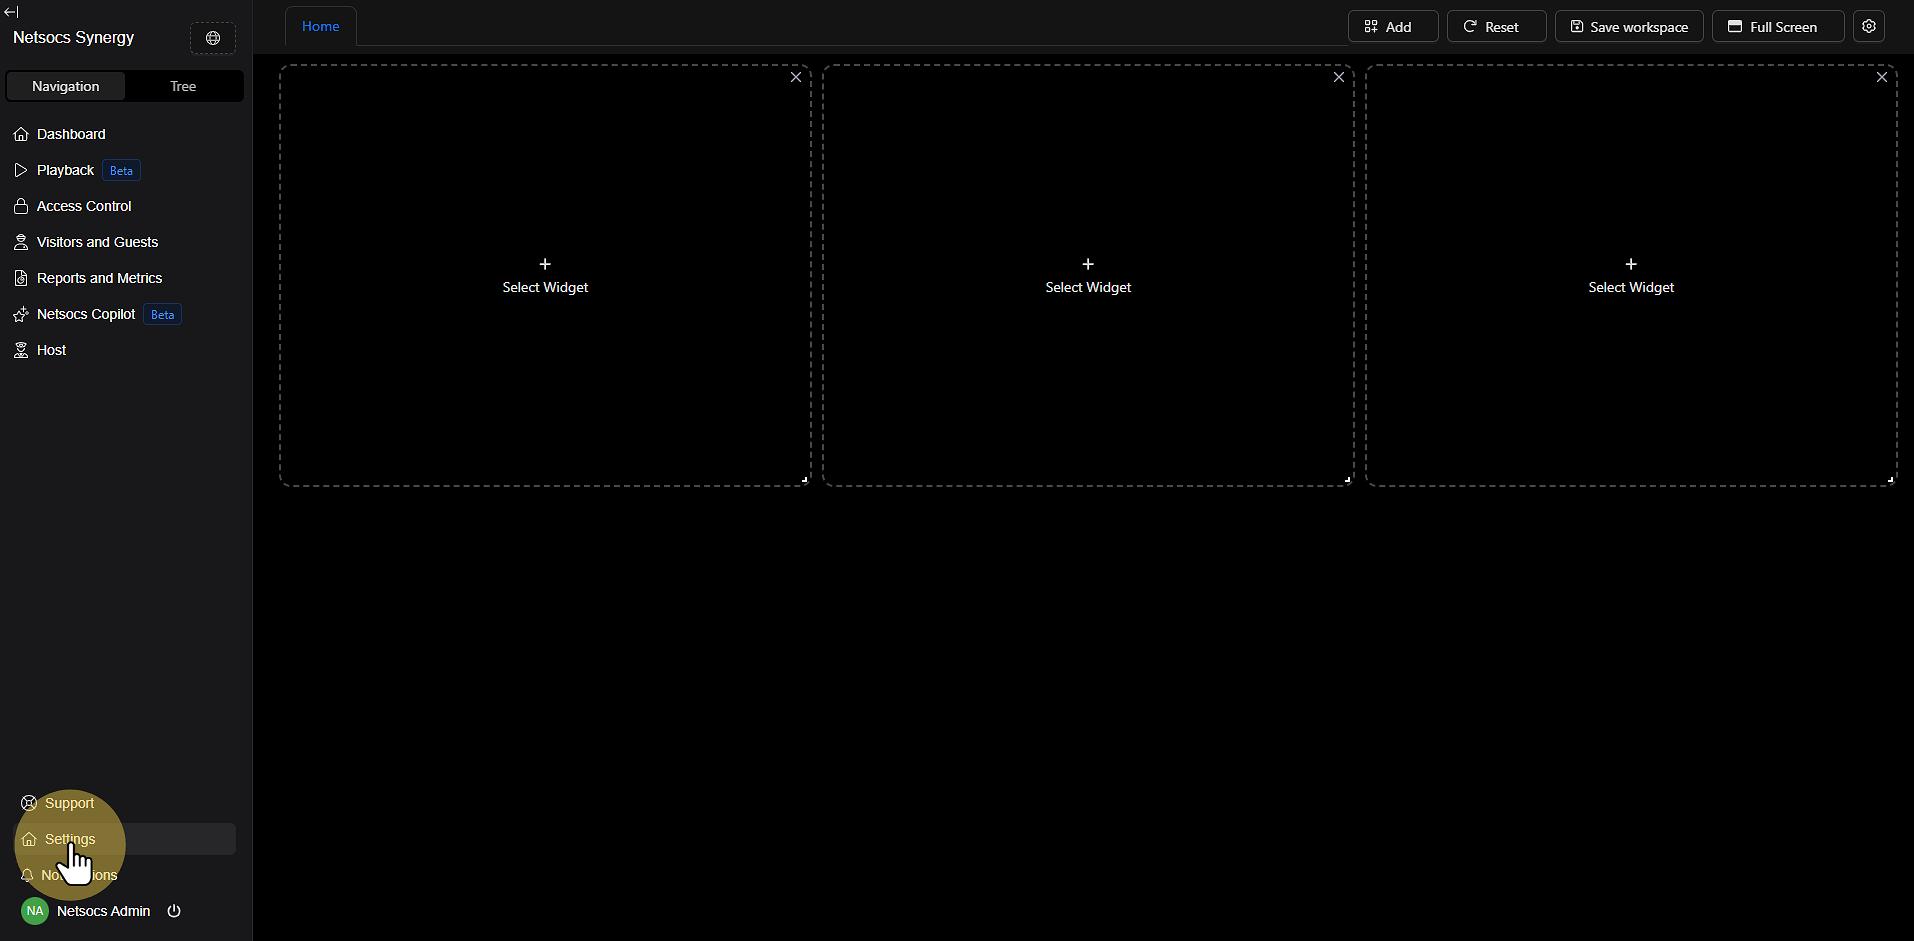
Step 1: Access Settings
Start the process by navigating to the settings menu. In the left panel of the Netsocs interface, locate the Navigation section and select Settings. This is the gateway to all system customization options.
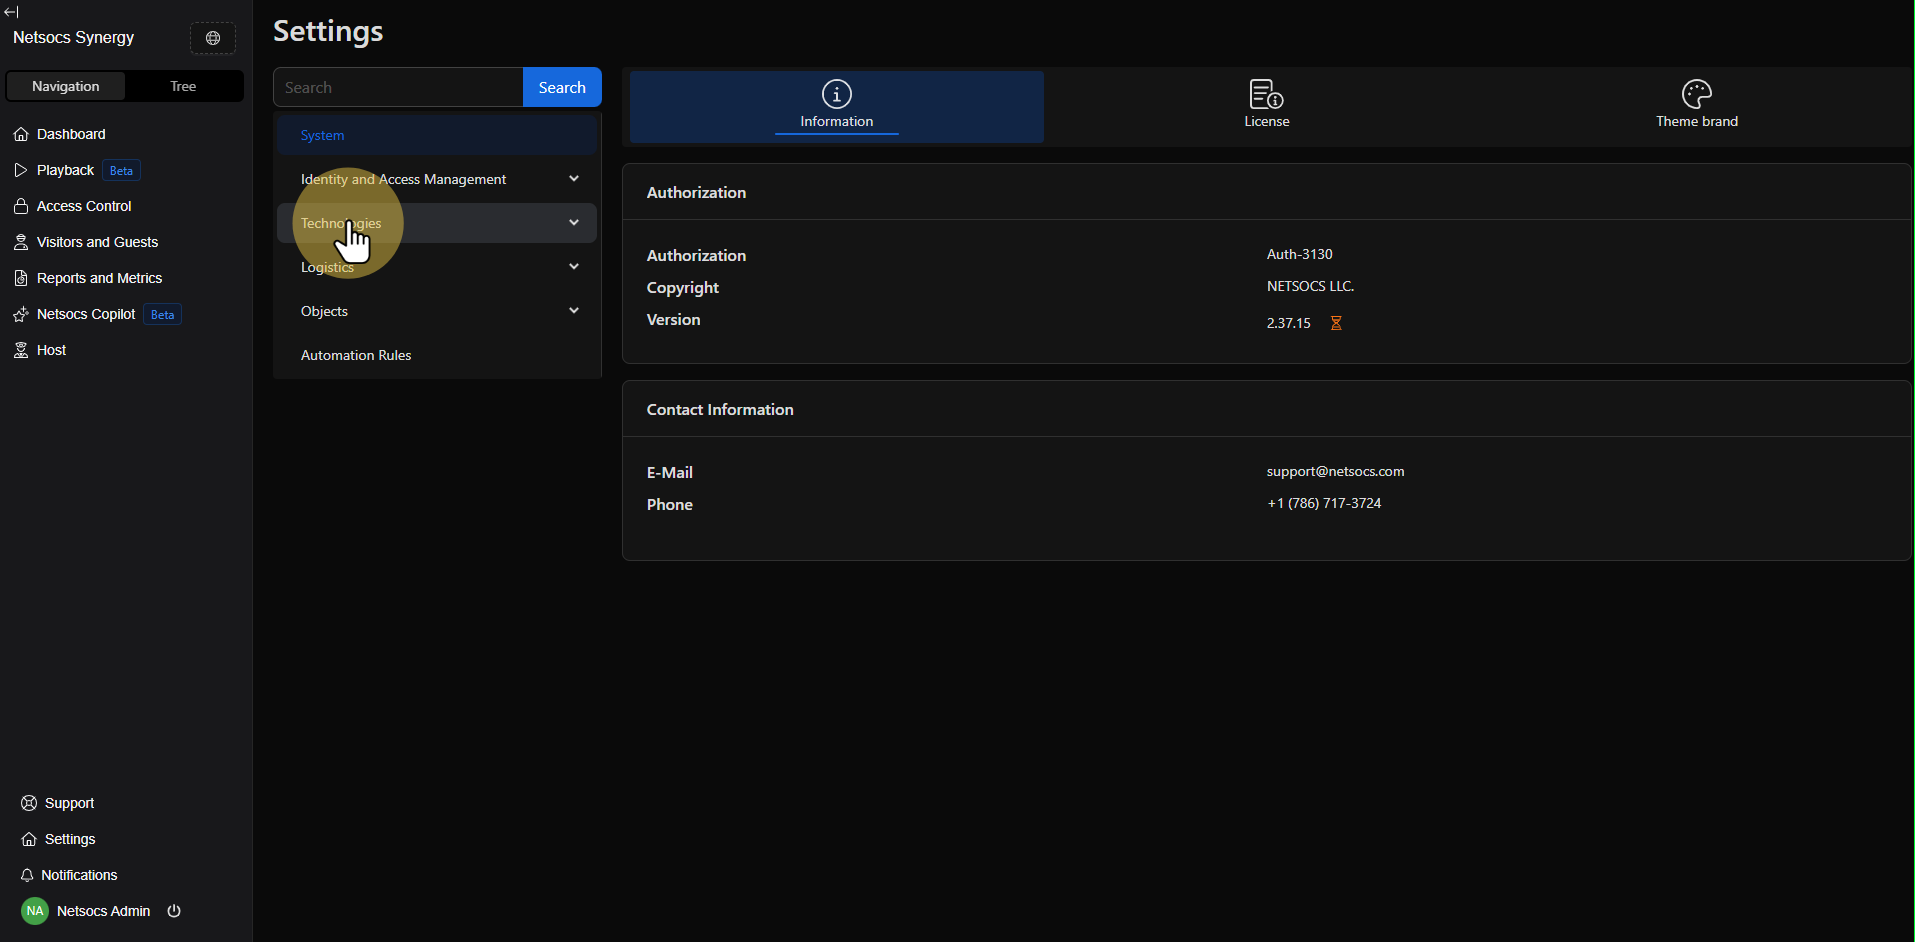
Step 2: Navigate to Technologies
Once in the settings menu, find and select the Technologies section. This area contains all tools related to device and external service integration, including driver and device management.
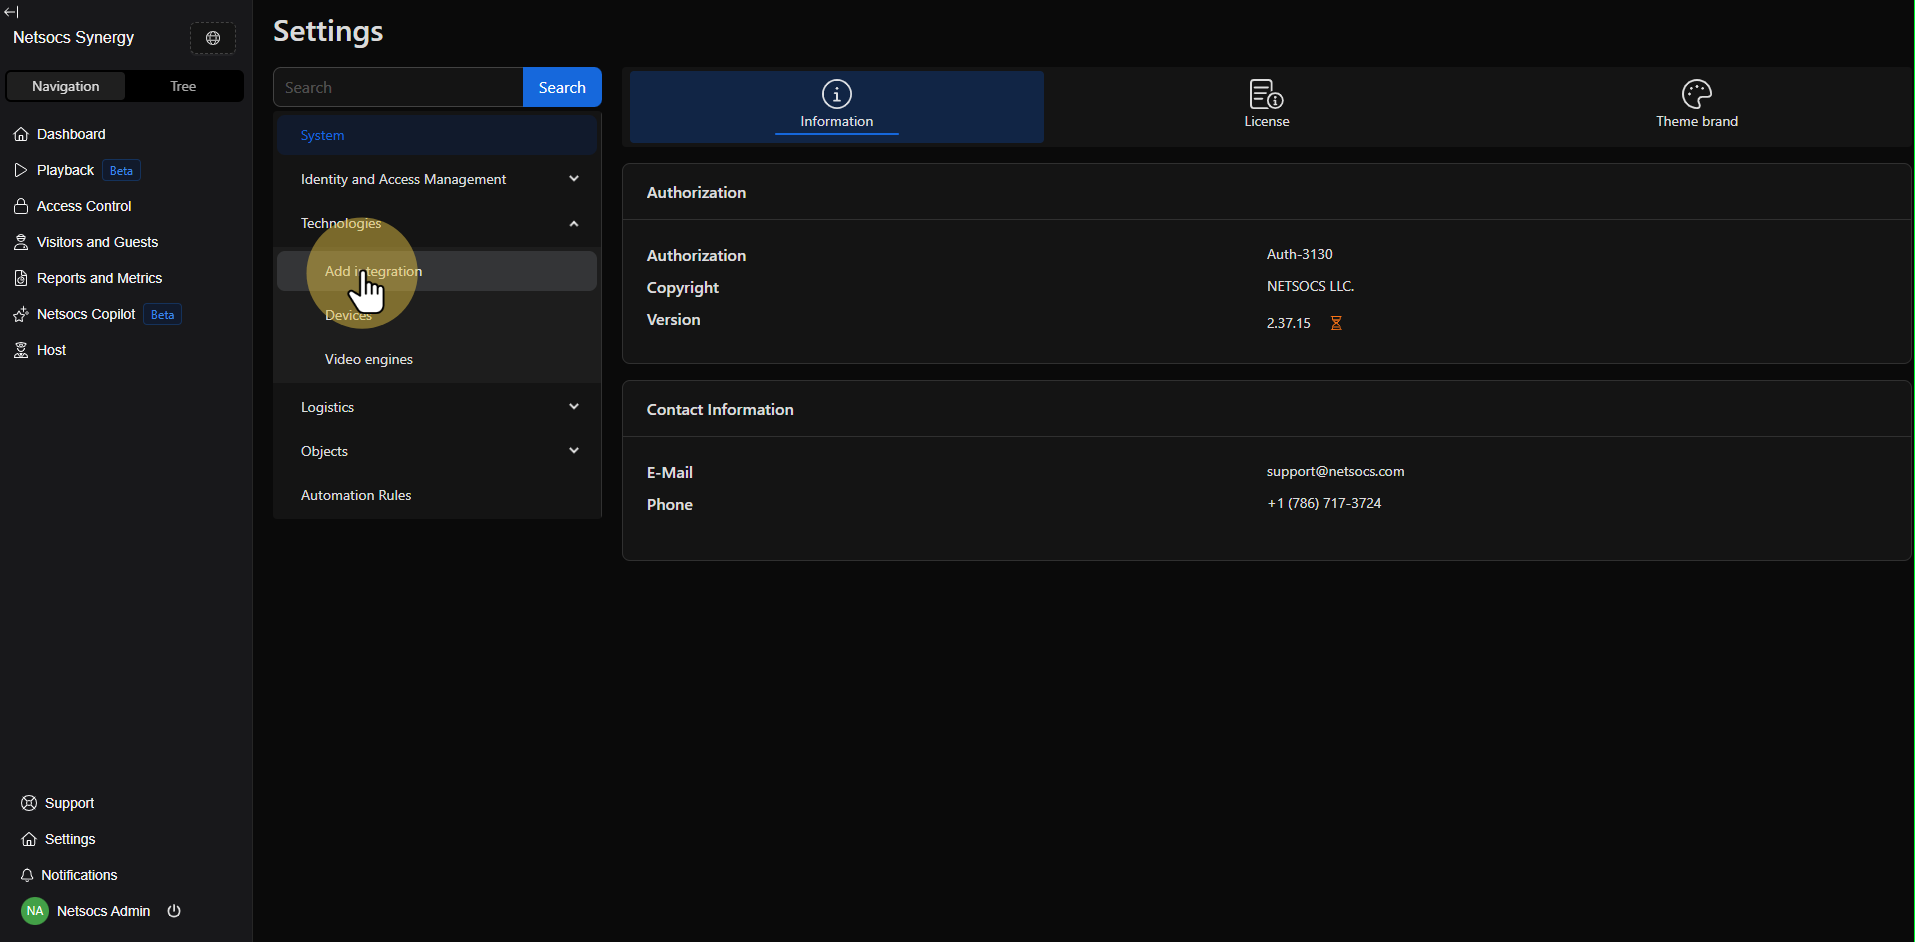
Step 3: Access Add Integration
Within the technologies section, locate the Add integration option. This function will allow you to expand your Netsocs system's capabilities by incorporating new devices and communication protocols.
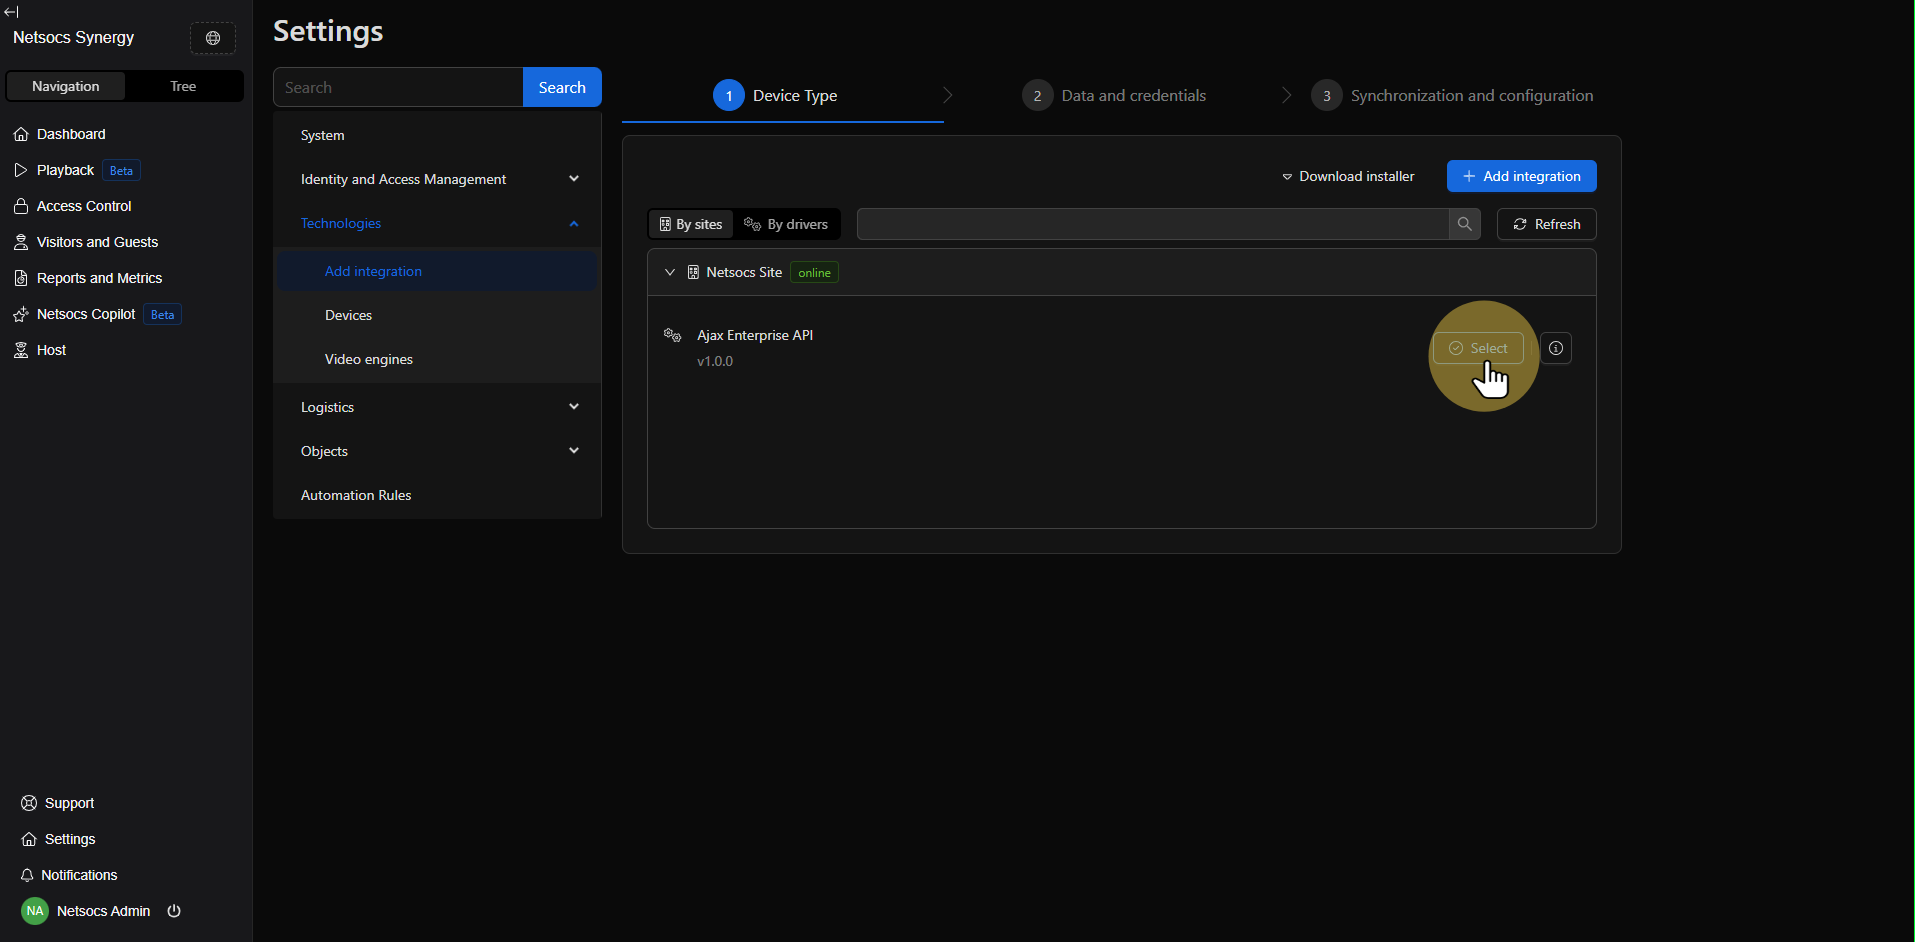
Step 4: Explore the "By Sites" Section
In the add integration interface, you'll find the "By Sites" section. This area shows all sites currently associated with Netsocs and the drivers available at each one. Sites are strategically installed to connect drivers alongside devices, allowing access to devices on closed networks or different physical locations.
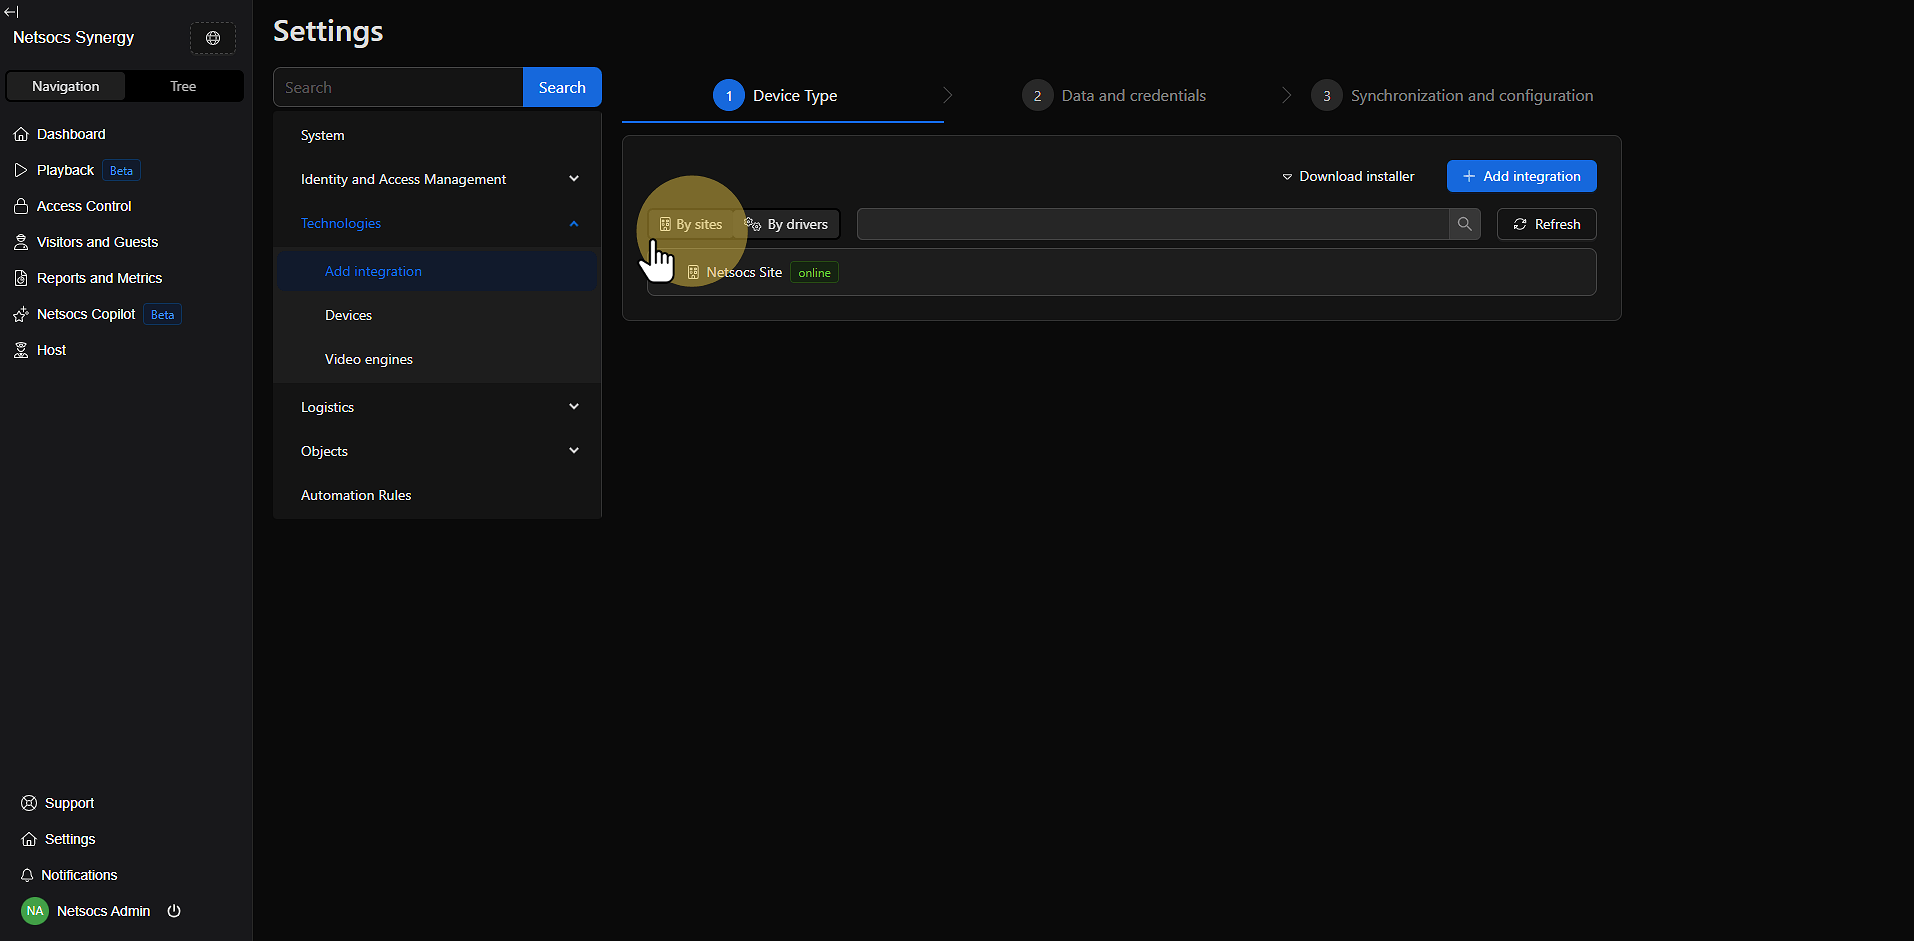
Step 5: Select the Desired Site
Expand the site where you want to add the device by clicking the expansion icon. Once expanded, you'll see the available drivers for that site. Click "Select" for the driver corresponding to the type of device you're adding.
Step 6: Add Device Manually
In the upper right corner of the screen, you'll find the "+" sign to manually add the device. Click this button to start the new device configuration process.
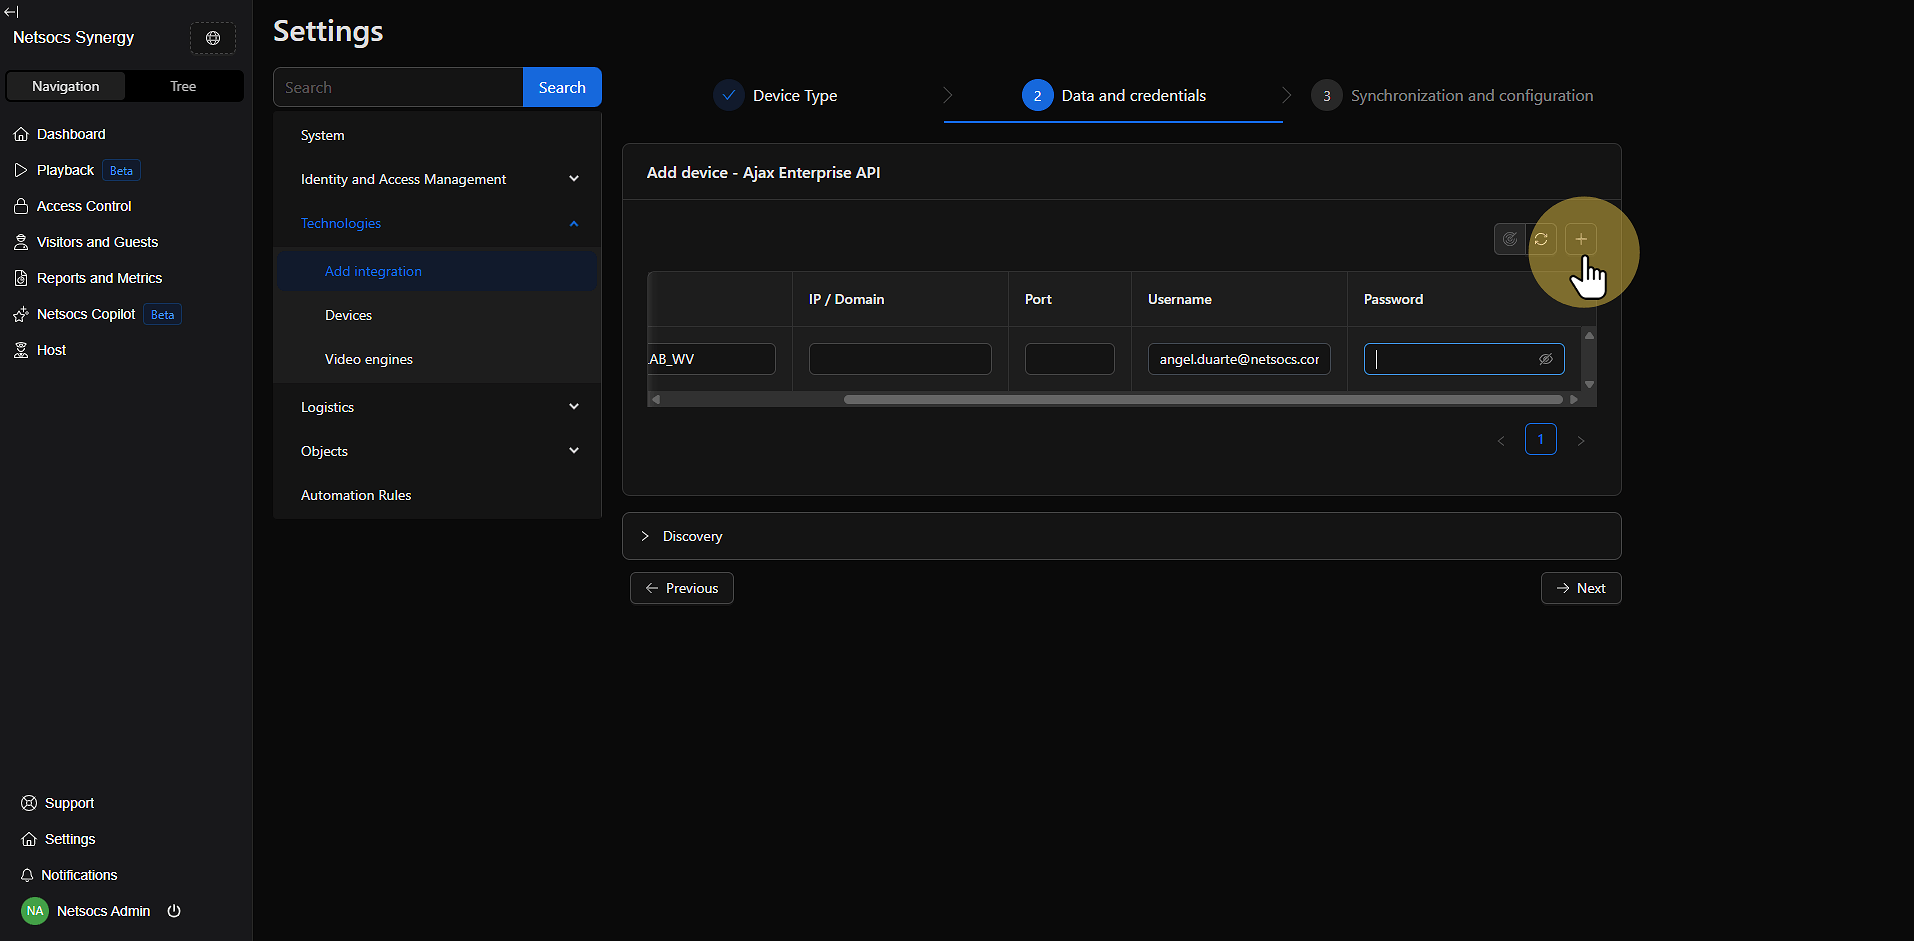
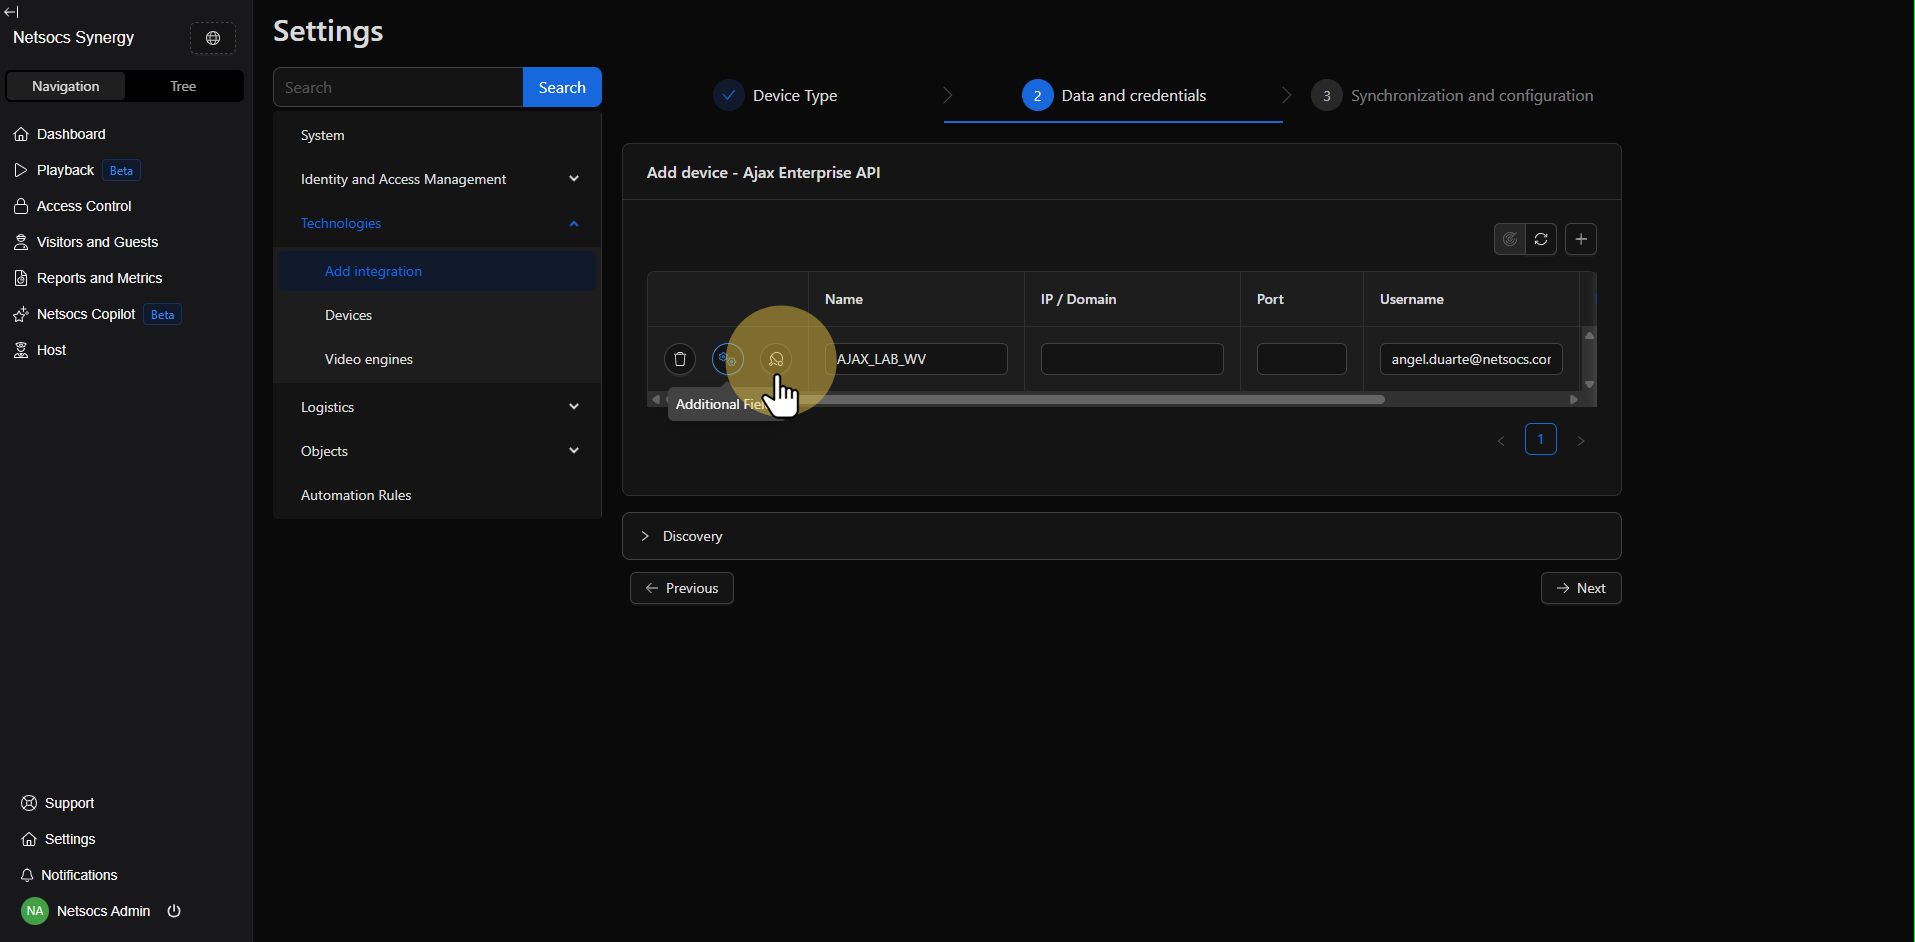
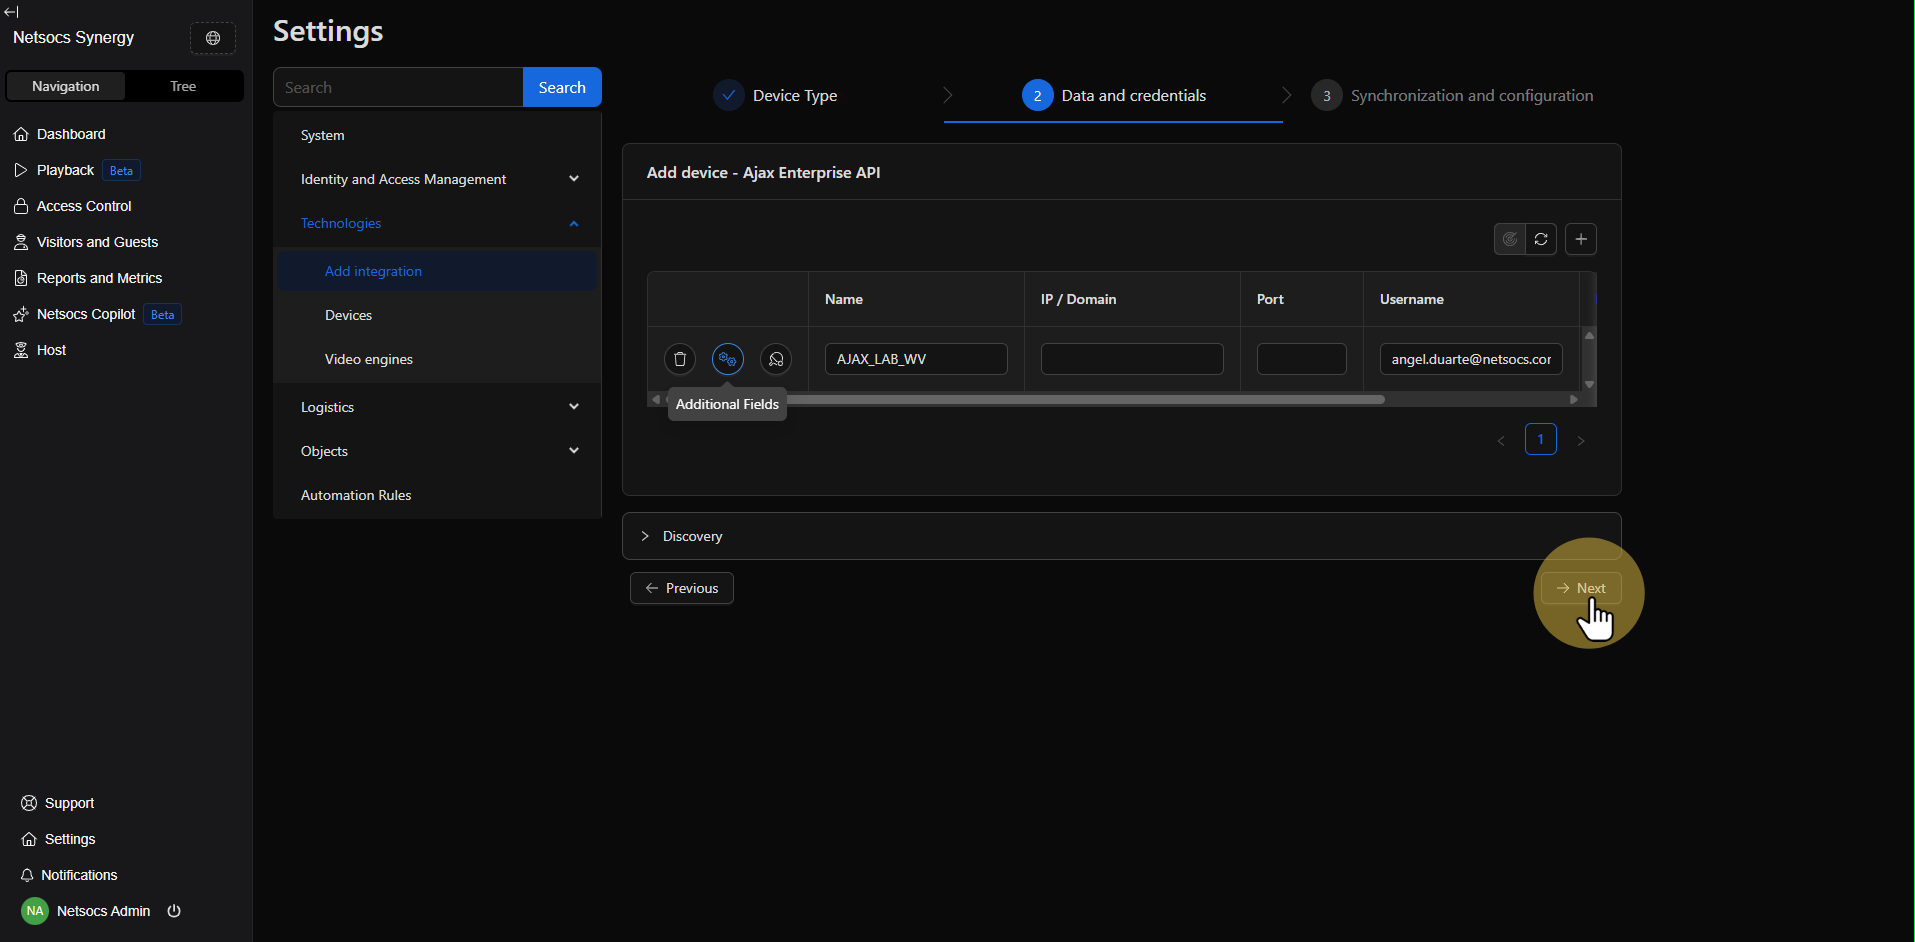
Step 7: Configure Device Data
When clicking the "+" sign, a new row will appear where you must enter the device data:
- Name: Unique identifier for the device.
- IP or Domain: Device network address.
- Port: Device communication port.
- User: Device access credential.
- Password: Device access password.
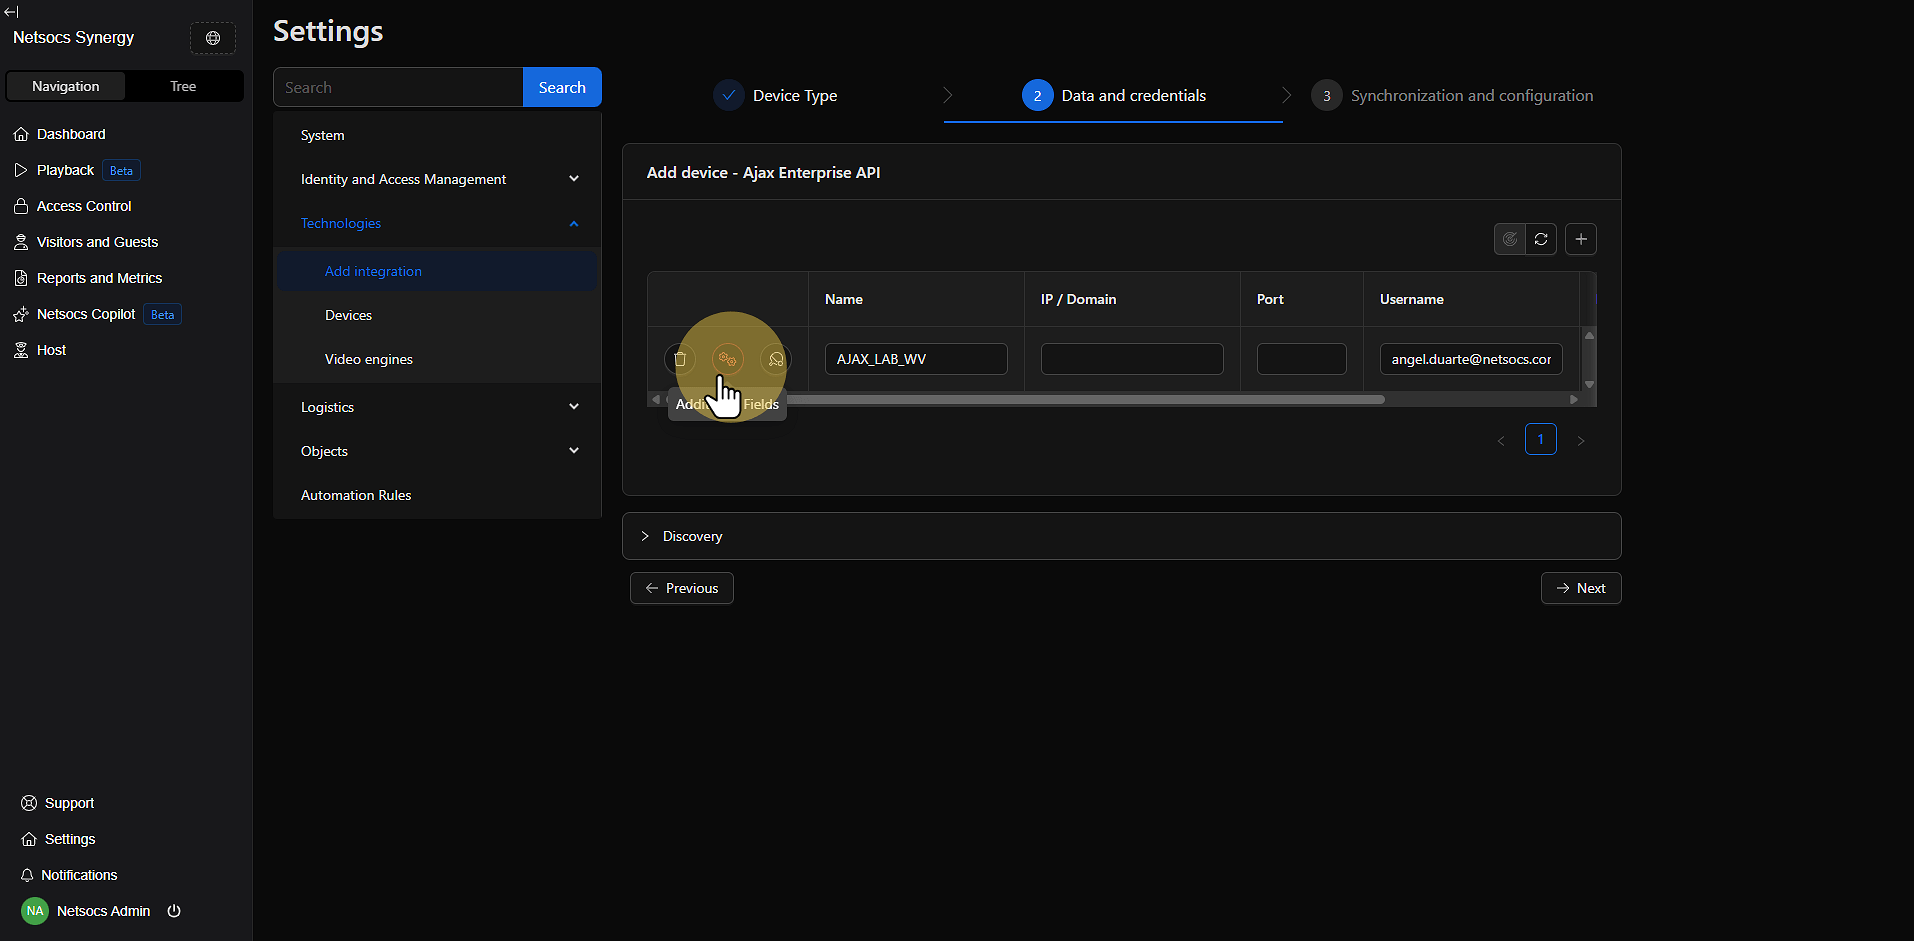
Step 8: Configure Additional Fields
Some devices require specific additional fields. If your device needs them, a window will automatically deploy for you to enter these additional parameters. If you need to edit these fields later, you can click the center button in the first column.
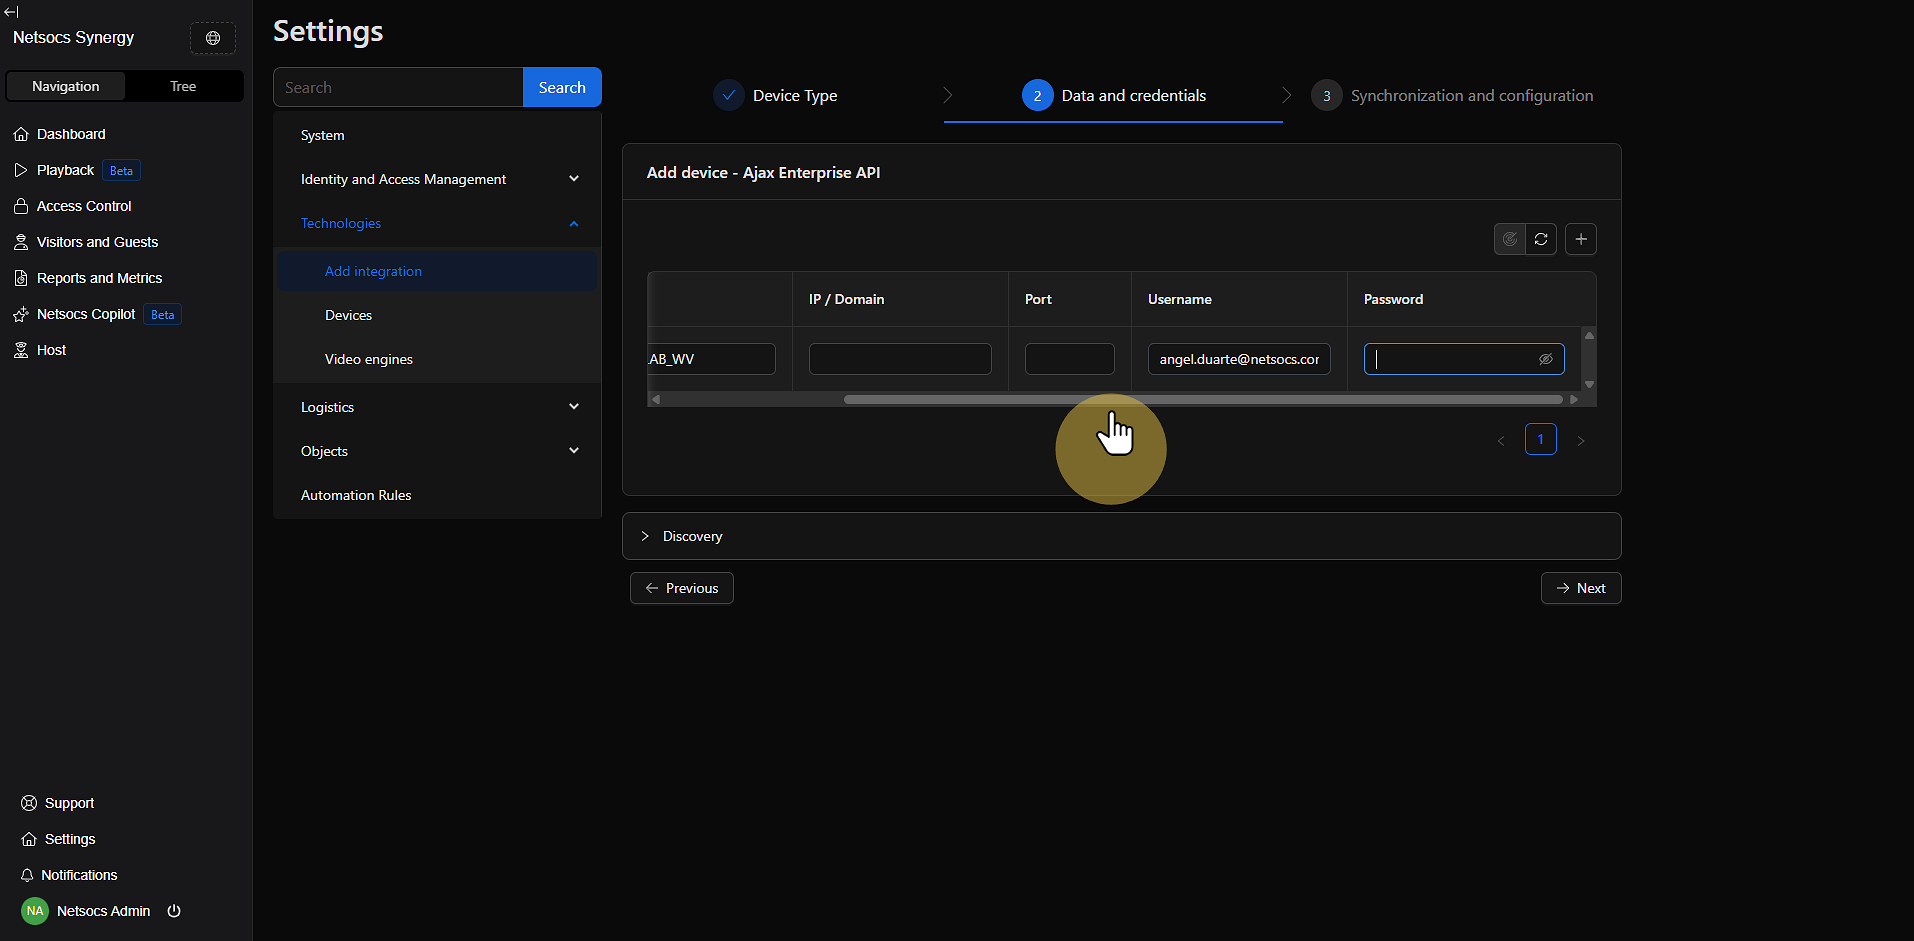
Step 9: Verify Connectivity
Once data is entered, click the ping button (located to the right of the first column) to verify connectivity:
- Green button: The connection is successful and the device responds correctly.
- Red button: There is a connectivity problem. An error message will be displayed indicating if:
- The network cannot be accessed.
- The password is invalid.
- The credentials don't have sufficient privileges.
Step 10: Confirm and Finalize
Once the ping is successful (green button), click "Next" (located at the bottom right) to confirm the device. On the confirmation screen, the initial device connection is made. Then click "Finish" to complete the registration process.
Important Considerations
When registering devices in Netsocs, keep in mind:
- Driver compatibility: Ensure the corresponding driver is installed and running.
- Network configuration: Verify that the device is accessible from the network where Netsocs is located.
- Correct credentials: Use credentials with sufficient privileges for all operations.
- Manufacturer documentation: Consult the device documentation to learn about specific parameters.
- Connectivity tests: Perform ping tests from the Netsocs server to the device before registration.
By following these steps in an orderly manner, you'll be able to successfully integrate new devices into your Netsocs system, thus expanding your infrastructure's automation and control capabilities.