Drivers are fundamental components in Netsocs that enable communication between the system and physical devices or external services. Each driver acts as a bridge that translates system commands into specific instructions that devices can understand, and vice versa.
What is a Driver?
A driver in Netsocs is a specialized software module that implements a specific communication protocol. These drivers allow Netsocs to connect with different types of devices, systems, and services, regardless of their brand, model, or communication protocol.
Drivers are essential because:
- They standardize communication: Convert proprietary protocols into a common language that Netsocs can understand.
- They enable interoperability: Facilitate the integration of devices from different manufacturers into a single system.
- They simplify management: Provide a unified interface to configure and monitor heterogeneous devices.
- They generate objects from devices: They are responsible for segmenting devices into different objects to facilitate their use and control within Netsocs.
Types of Drivers in Netsocs
Netsocs supports a wide variety of drivers that can be classified according to their function:
Device Drivers
- IP Cameras: For video surveillance systems
- NVR: For video recorders
- Sensors: For environmental and security monitoring devices
- Controllers: For lighting, HVAC and automation systems
- Access panels: For entry control systems
Make sure your NVR's firmware is updated to the latest version recommended by the manufacturer to avoid video stream connection issues.
Protocol Drivers
1. Industrial Protocols
- Modbus (RTU/TCP)
- OPC UA / OPC DA
- PROFINET / PROFIBUS
2. Building Automation Protocols
- BACnet (IP / MSTP)
- KNX
- LonWorks
3. Electronic Security and Access Control Protocols
- OSDP (Open Supervised Device Protocol)
- Wiegand
- ONVIF
- PSIA
- SSCP / Mercury Protocols
4. IoT Protocols
- MQTT
- CoAP
- LoRaWAN
- Zigbee
- Z-Wave
5. Communication and Voice over IP Protocols
- SIP (Session Initiation Protocol)
- RTP (Real-Time Transport Protocol)
Driver Installation Process
Driver installation in Netsocs is a simple process consisting of eight well-defined steps. This process ensures that each driver is correctly installed and ready for use.
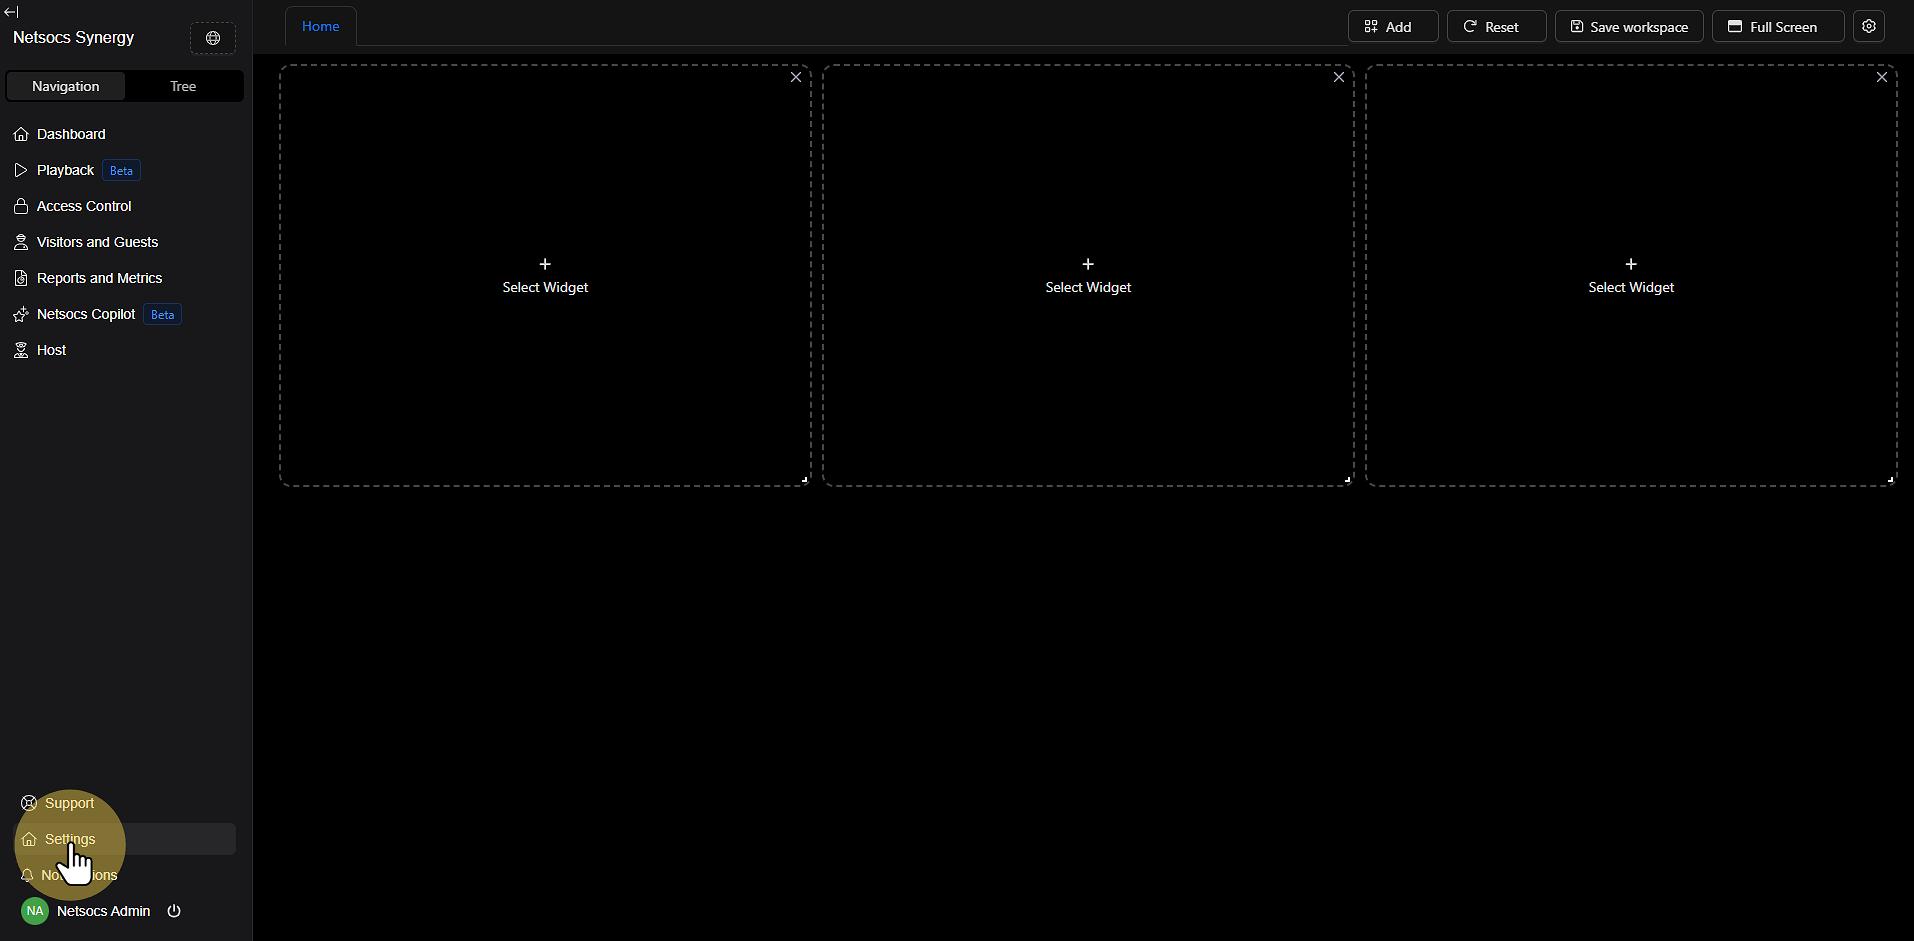
Step 1: Access the Settings Menu
Start the process by navigating to the settings menu. In the left panel of the Netsocs interface, locate the Navigation section and select Settings. This is the gateway to all system customization options.
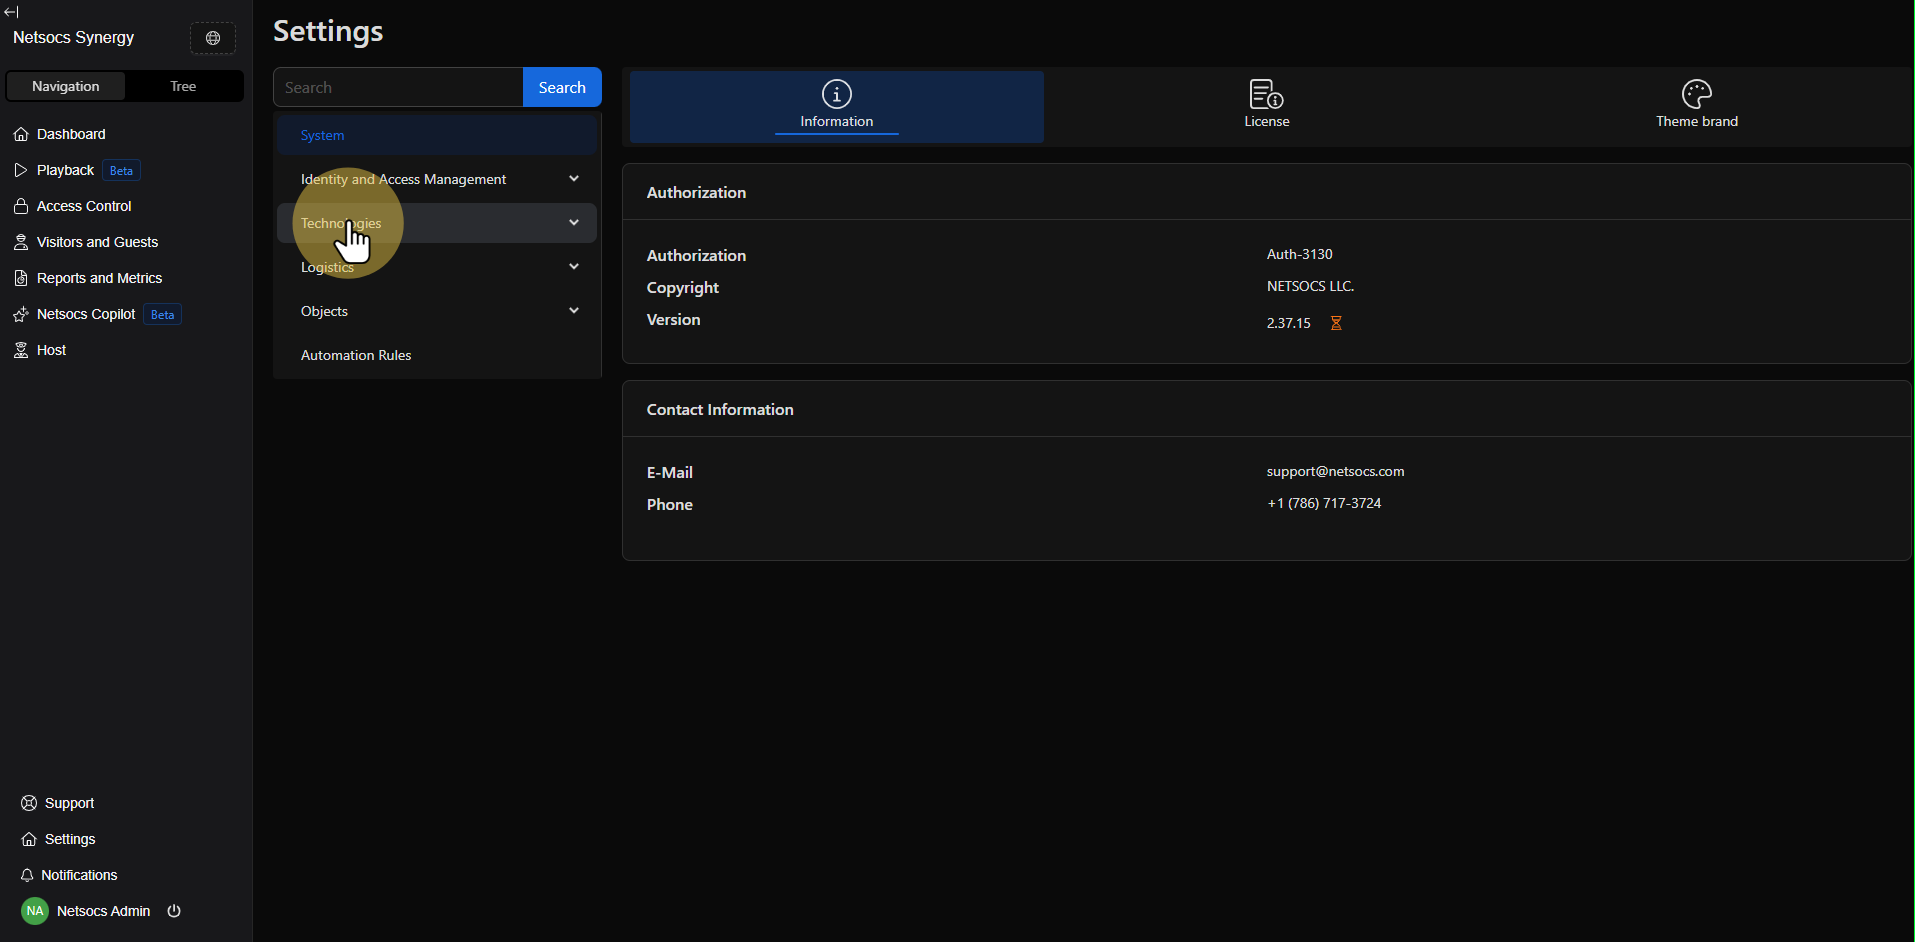
Step 2: Navigate to the Technologies Section
Once in the settings menu, find and select the Technologies section. This area contains all tools related to device and external service integration, including driver management.
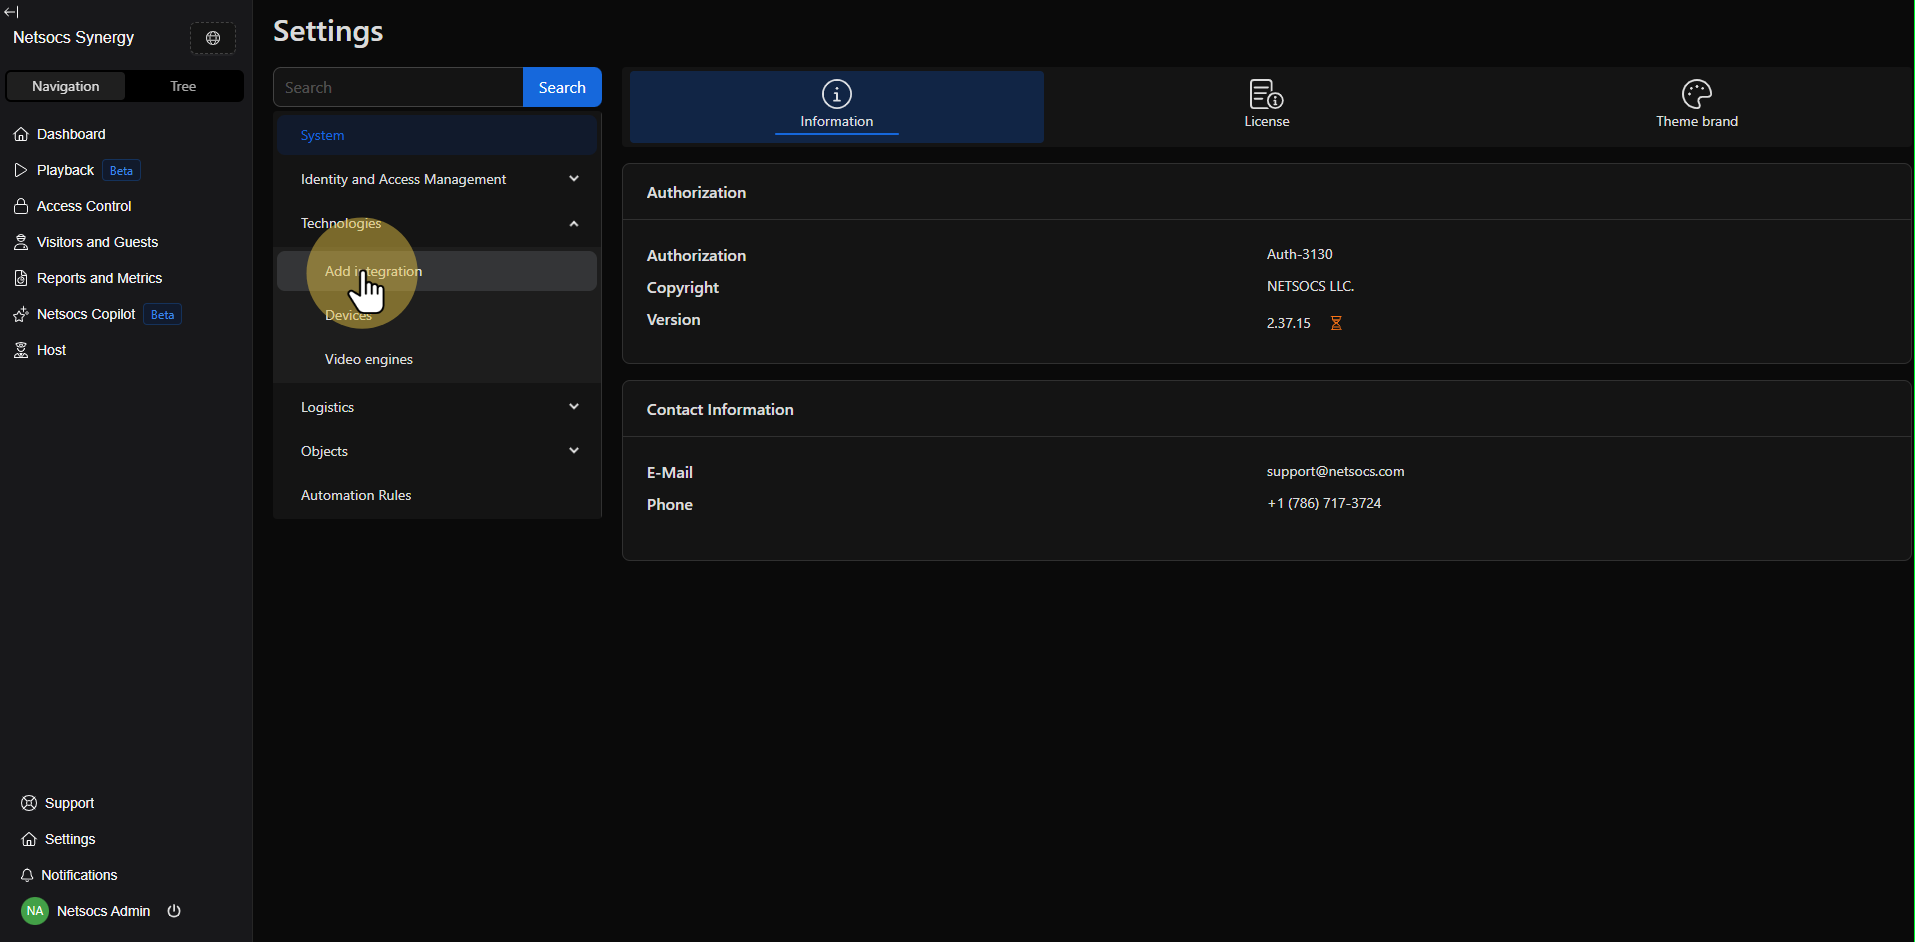
Step 3: Access Add Integration
Within the technologies section, locate the Add integration option. This function will allow you to expand your Netsocs system's capabilities by incorporating new drivers and communication protocols.
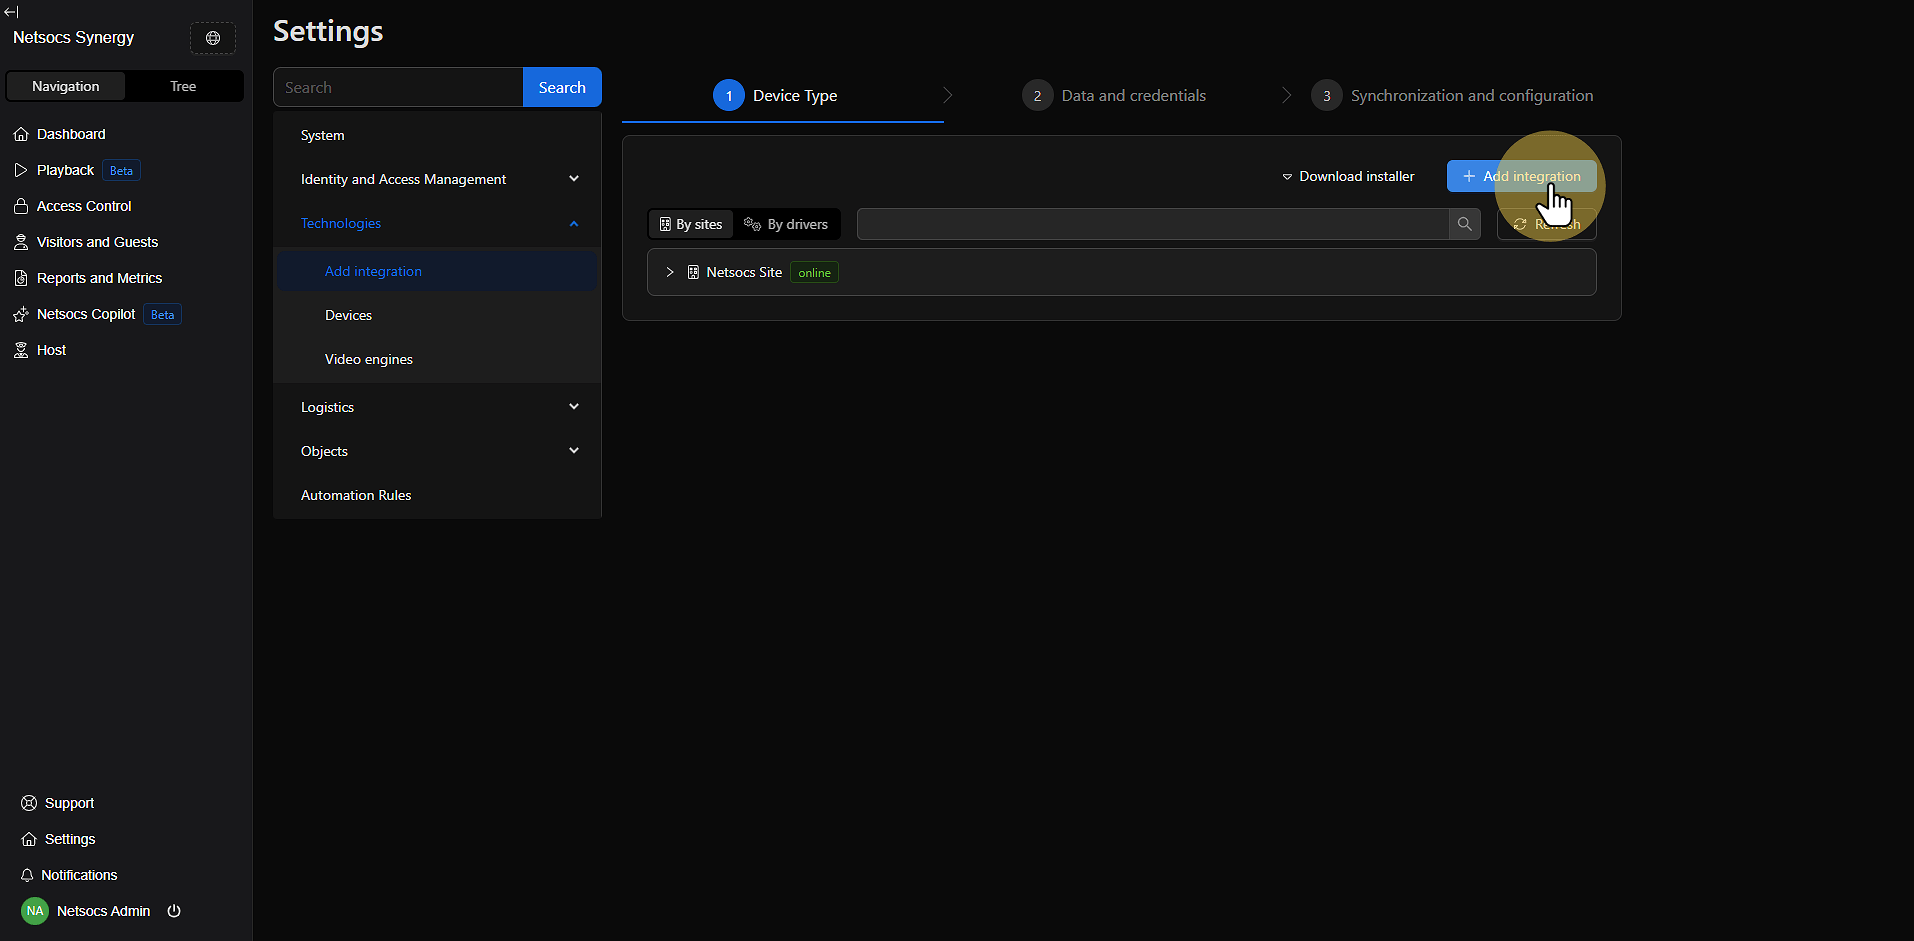
Step 4: Use the "Add Integration" Button
In the upper right corner of the screen, you'll find the "Add integration" button. Click this button to start the installation process for a new driver. This button is the starting point for all new integrations.
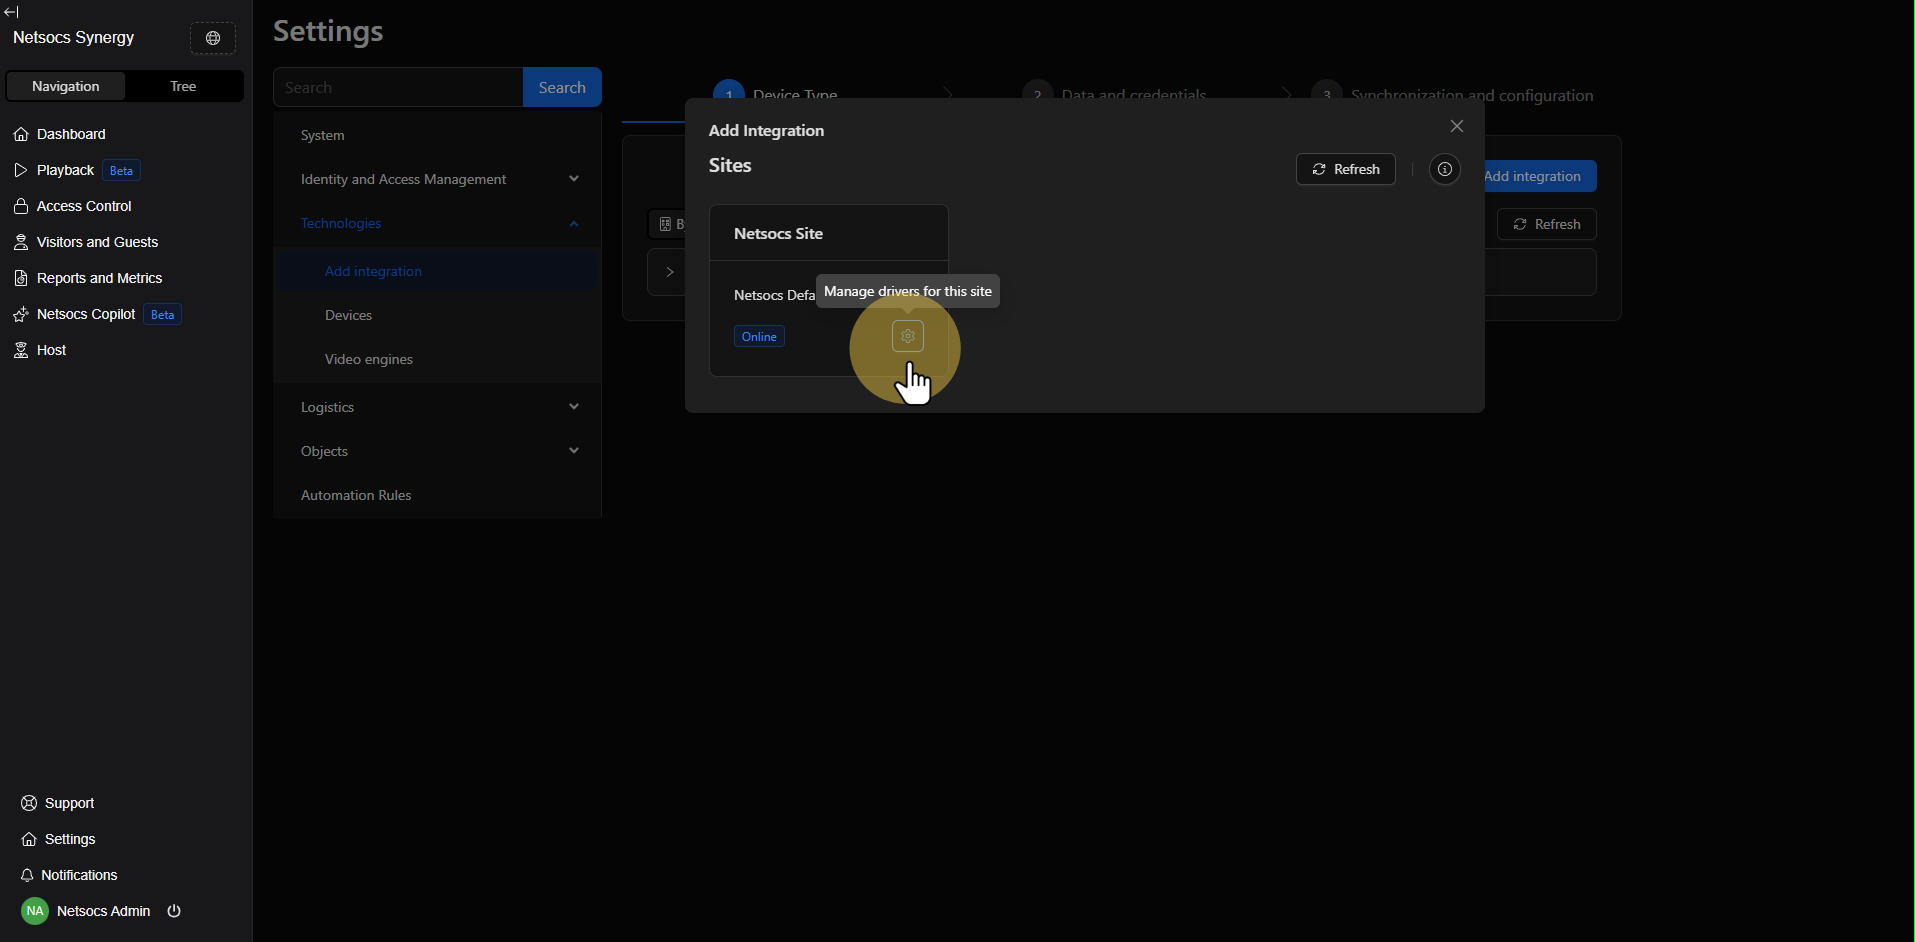
Step 5: Manage Drivers
Once you've accessed the add integration section, look for the settings icon (generally represented by a gear or settings icon). This icon will allow you to access specific driver management, where you can see all available options.
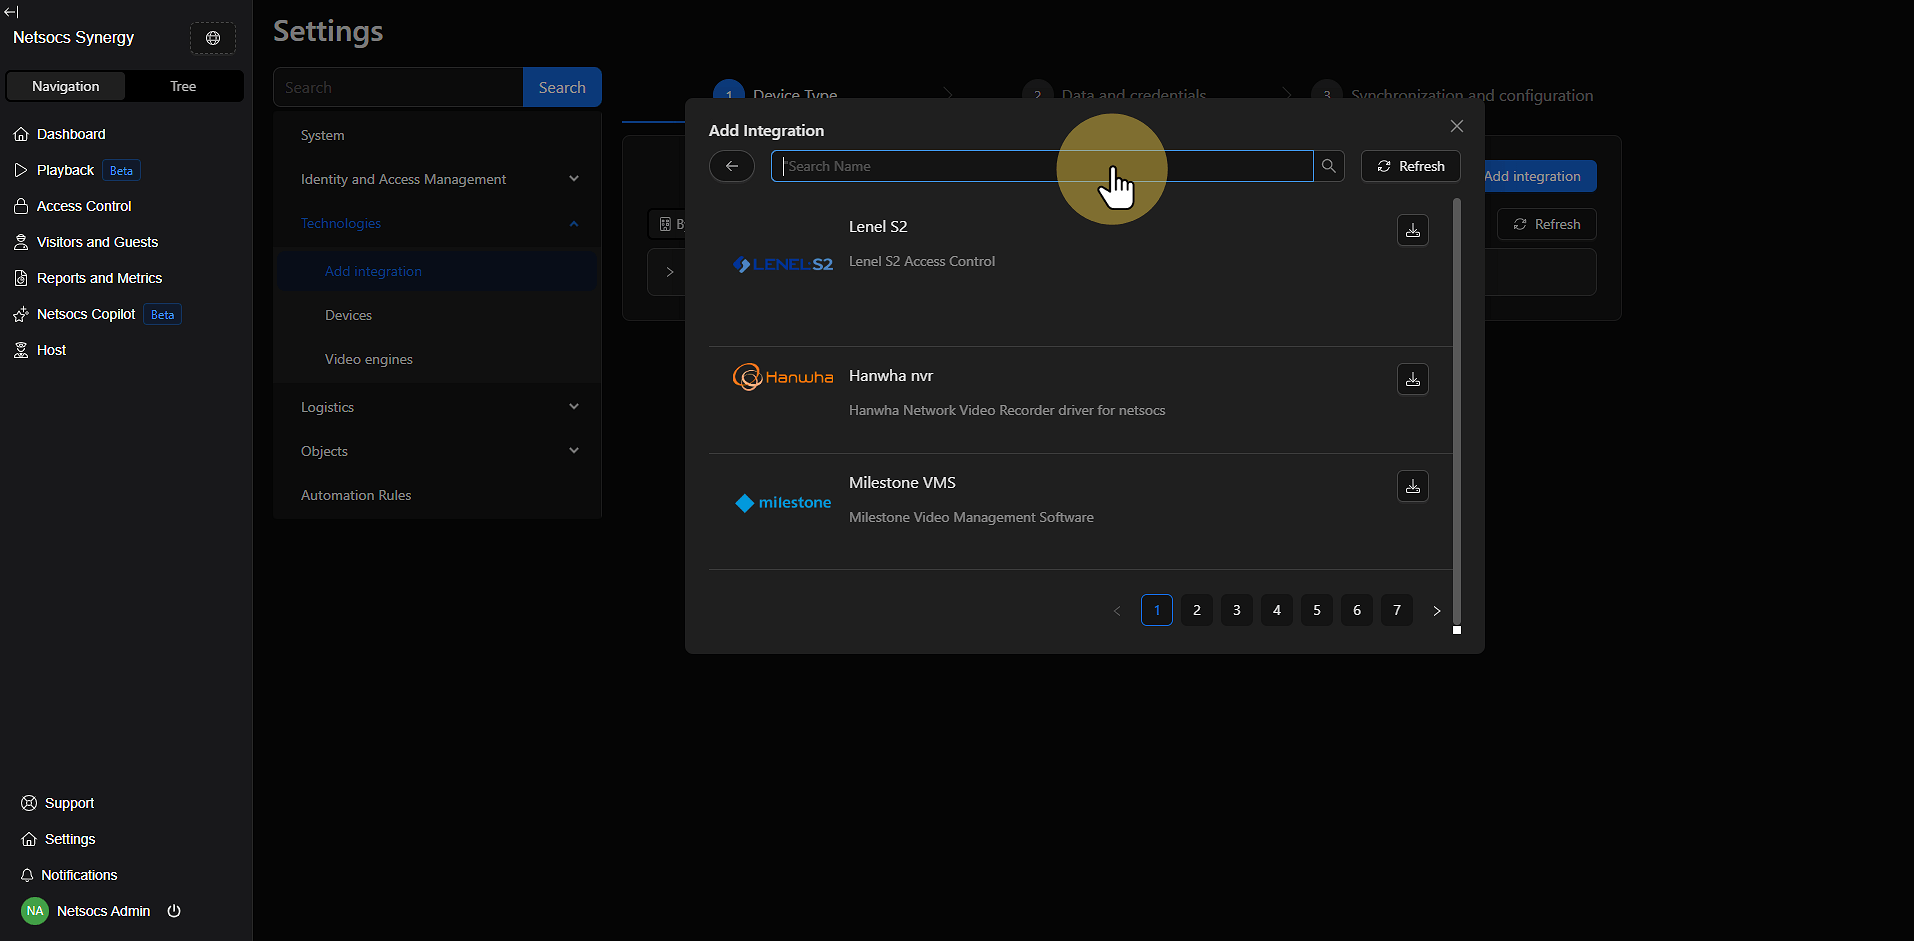
Step 6: Search for the Desired Driver
In the driver management interface, you have two options to locate the driver you need:
- Search by name: Use the search field to find specific drivers by typing their name or related keywords.
- Browse by pagination: If you prefer to explore all available options, use the pagination controls to navigate through the complete list of drivers.
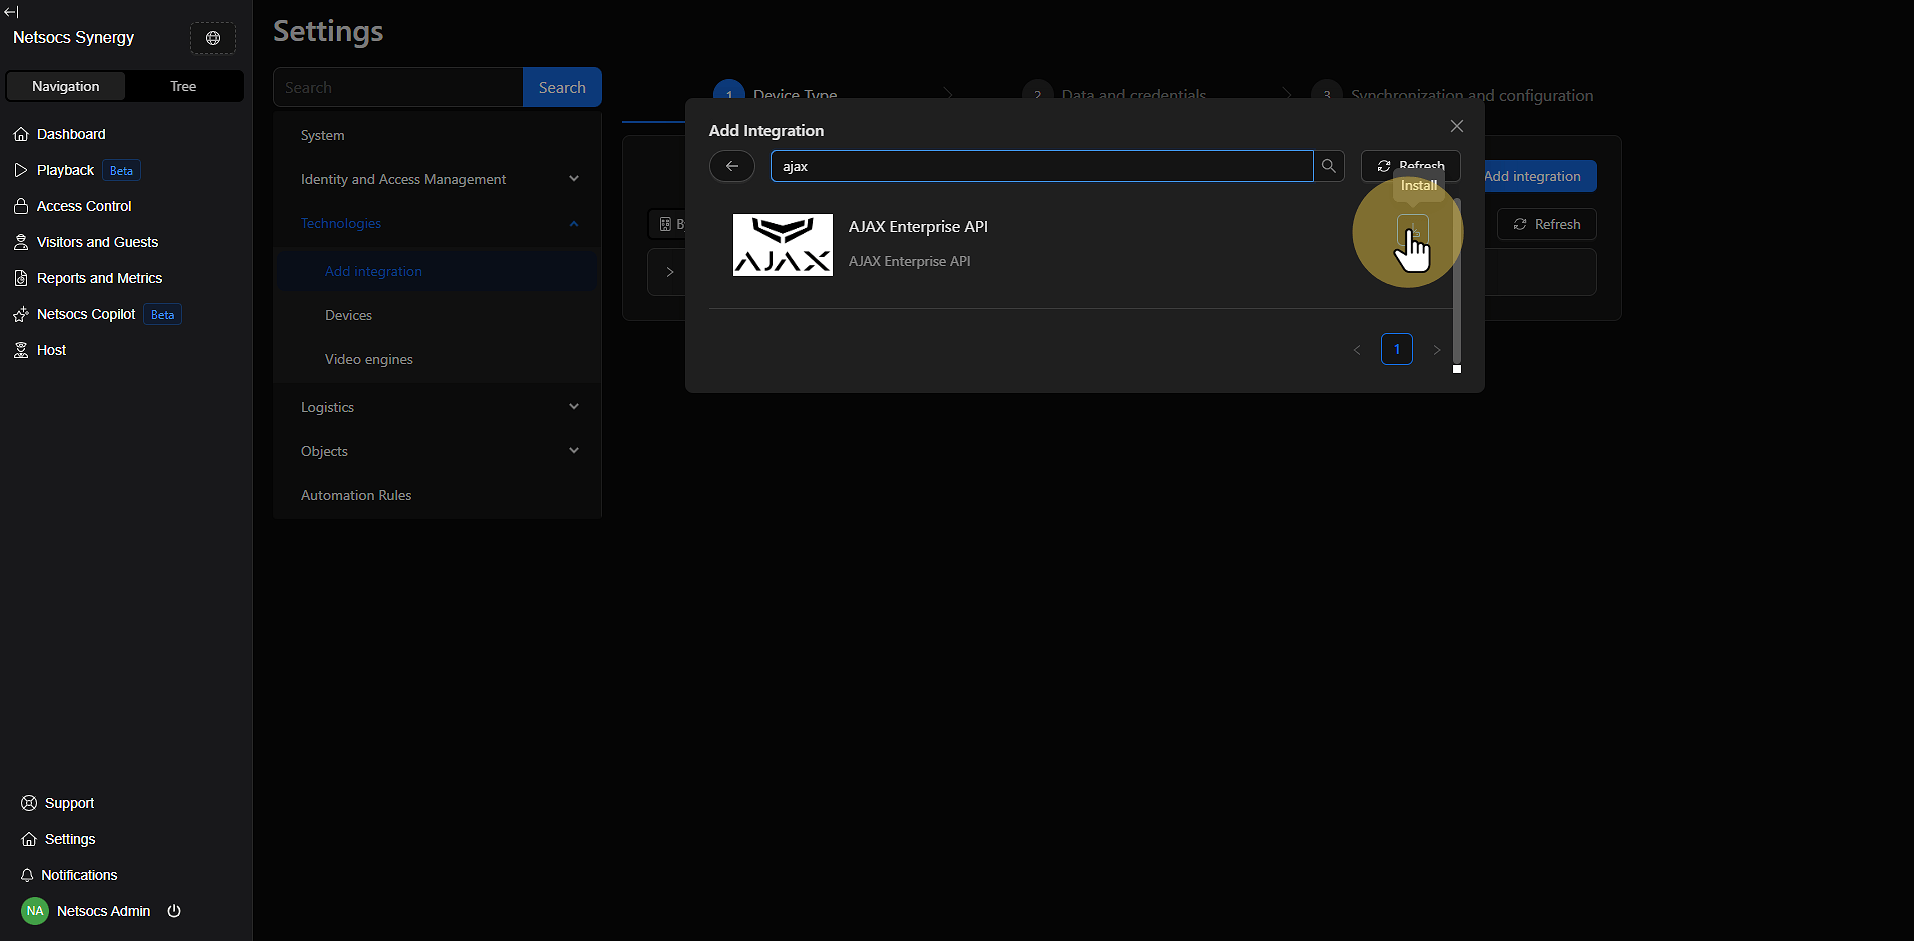
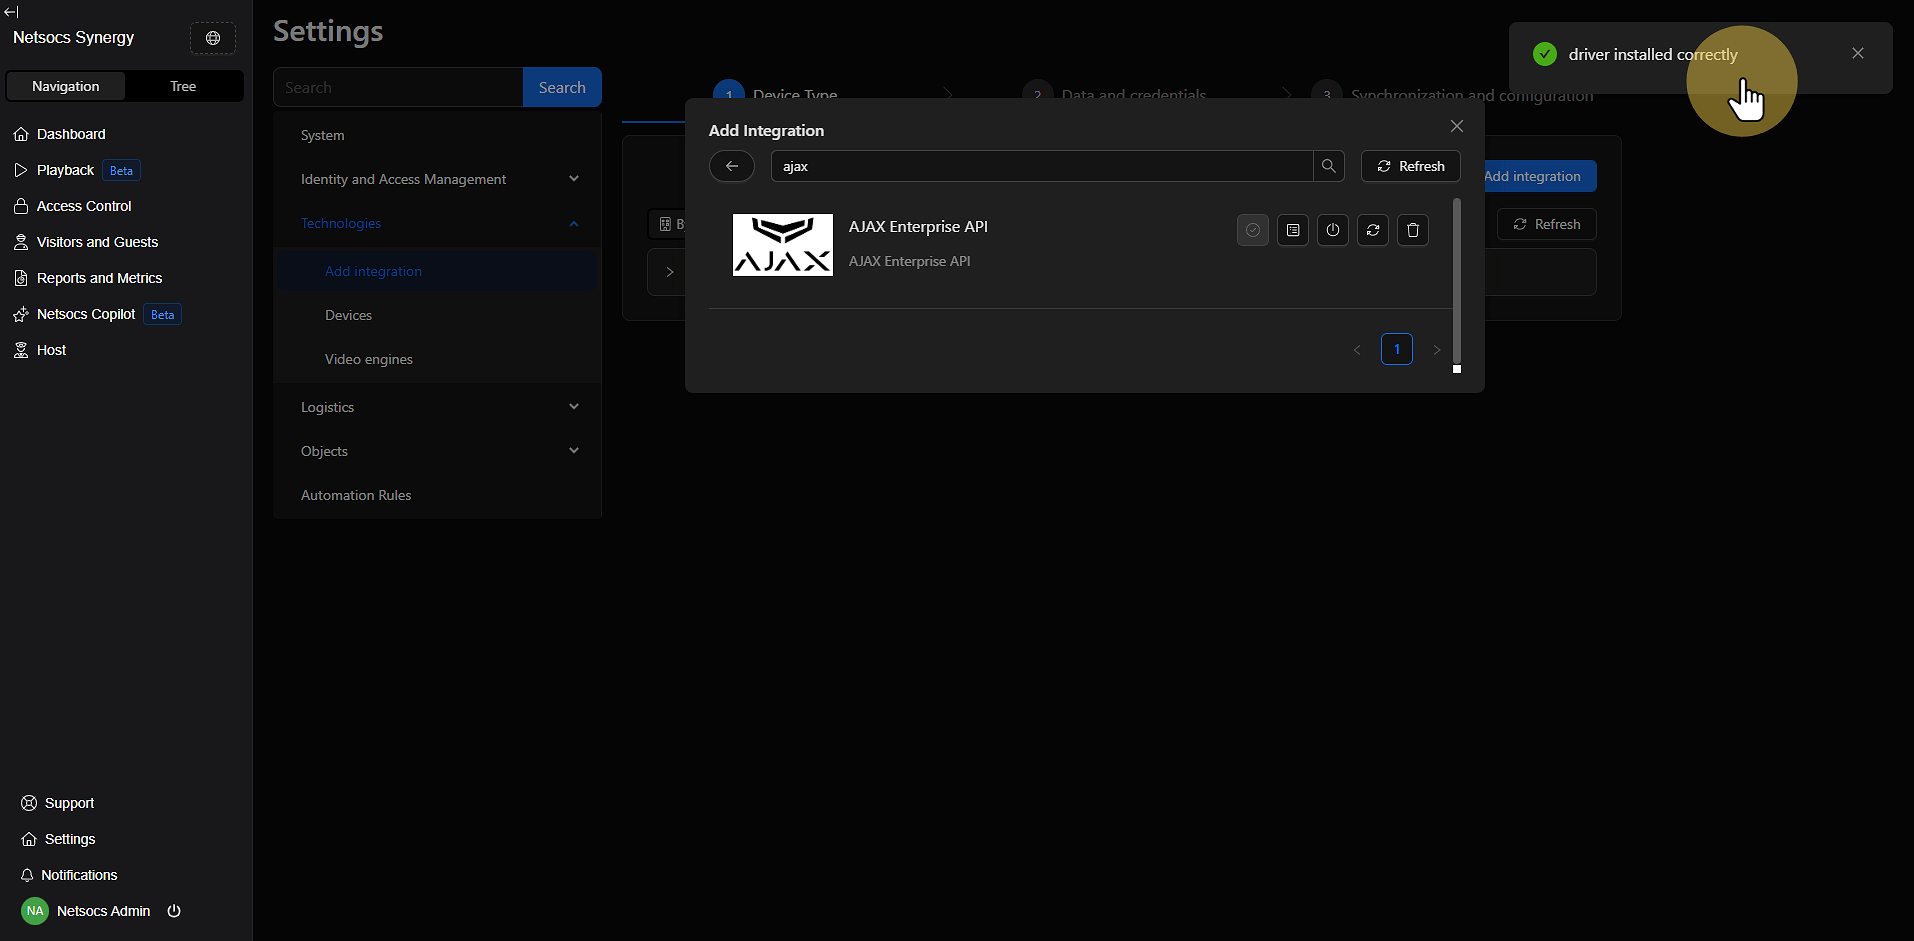
Step 7: Install the Driver
Once you've located the desired driver, look for the install icon (generally represented by a download or installation symbol). Click this icon to start the automatic installation process of the driver on your Netsocs system.
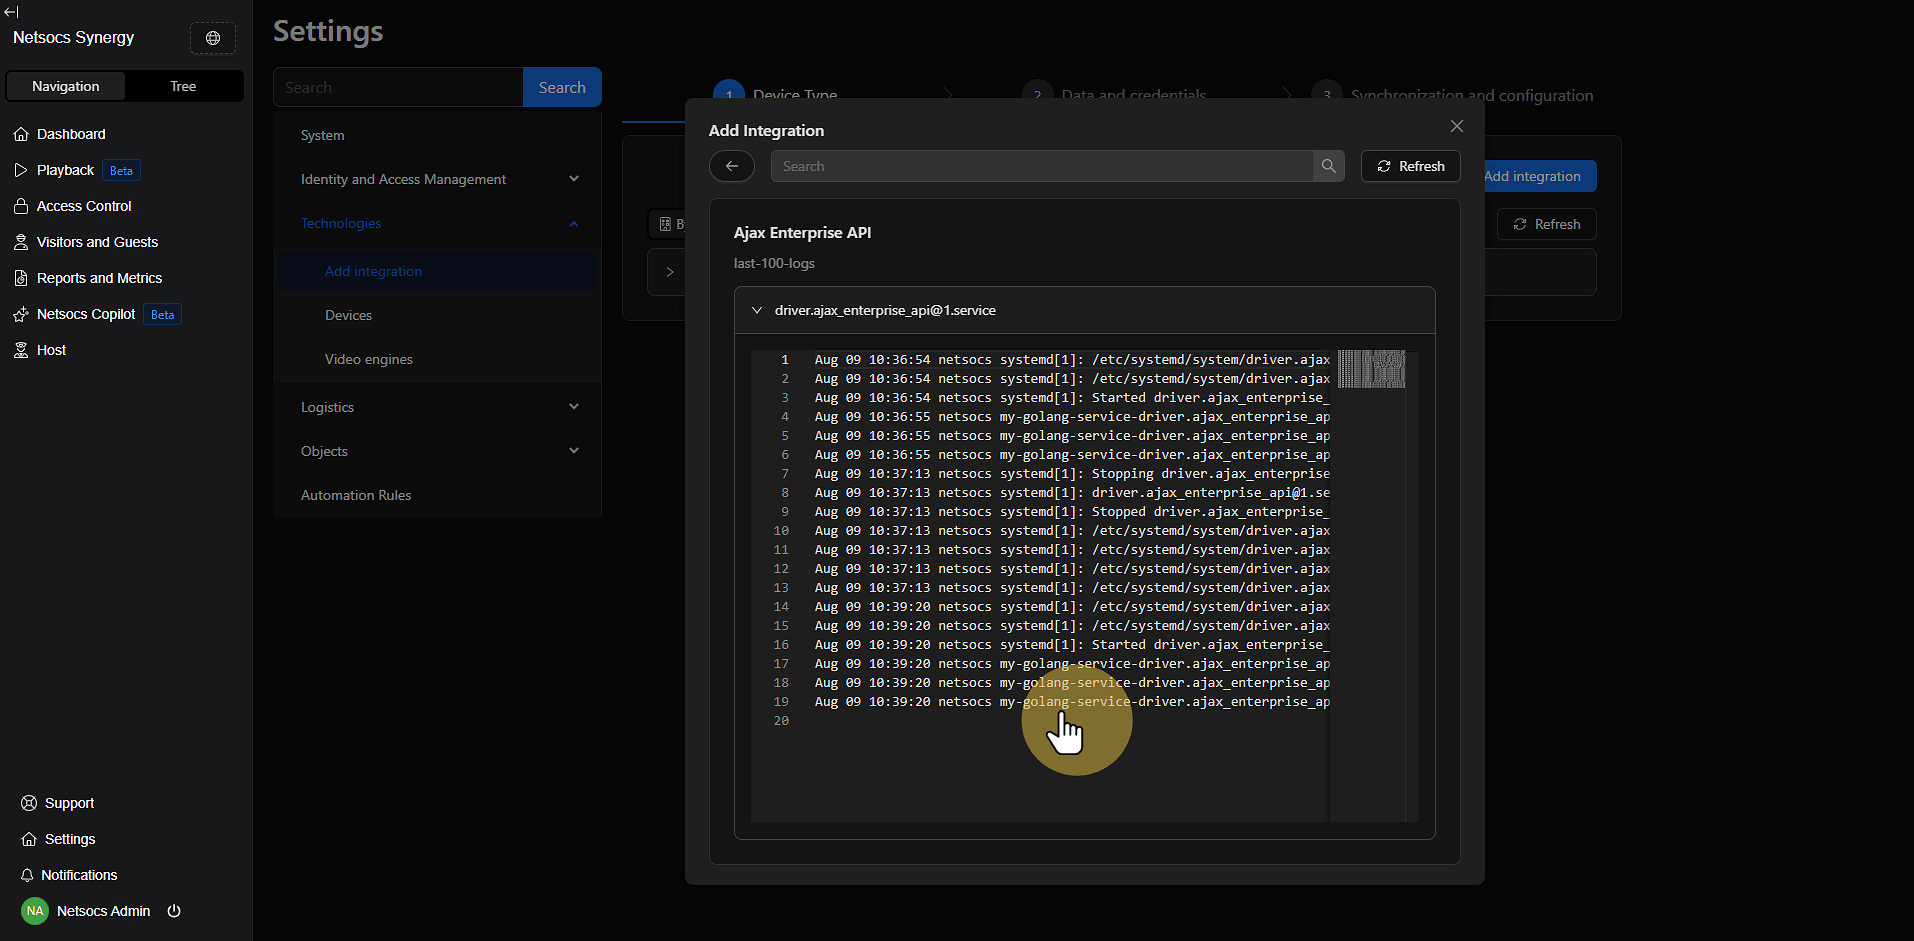
Step 8: Verify the Installation
After installation, it's crucial to verify that the driver has been installed correctly:
- Click Logs to access the driver logs.
- Review the logs to confirm that the driver has started correctly.
- Verify that there are no errors in the installation process.
- Confirm that the driver appears in the list of installed drivers.

Step 9: Add Device
Note Once the driver has been successfully registered in Netsocs, you should go to the corresponding section to register the device associated with that driver.
Important Considerations
When installing drivers in Netsocs, keep in mind:
- Compatibility: Ensure the driver is compatible with your device (model, firmware, configuration).
- System requirements: Verify that your system meets the driver's minimum requirements.
- Post-installation configuration: Installation is only the first step; you need to register the devices.
- Support: Maintain a record of installed drivers to facilitate technical support.
By following these steps in an orderly manner, you'll be able to successfully integrate new drivers into your Netsocs system, thus expanding your infrastructure's automation and control capabilities.