Documentation: Set Variables Node
General Description
The Set Variables Node is an action node that allows you to define and create custom variables within the execution of an automation flow.
These variables are temporary and local to the current flow execution. Their main objective is to simplify complex flows by allowing you to calculate values, rename properties from previous nodes, perform mathematical operations, or format text so they can be easily reused by subsequent nodes.
When to Use This Node?
Use this node when you need to:
- Perform intermediate mathematical calculations using template expressions (for example:
{{1 + 1}}). - Format or concatenate complex text strings (for example: creating a dynamic message like
Hello {{trigger.user_name}}, the current state is {{node_state.state}}). - Rename or restructure the output of previous nodes into more user-friendly names (for example: saving deep data like
{{node_ptz.response[0].id}}into a simple variable namedclip_id). - Centralize and define fixed values in a single place in the flow so you don't have to repeat them in multiple subsequent nodes.
Node Configuration
The node has two configuration tabs at the top: Form and JSON Editor.
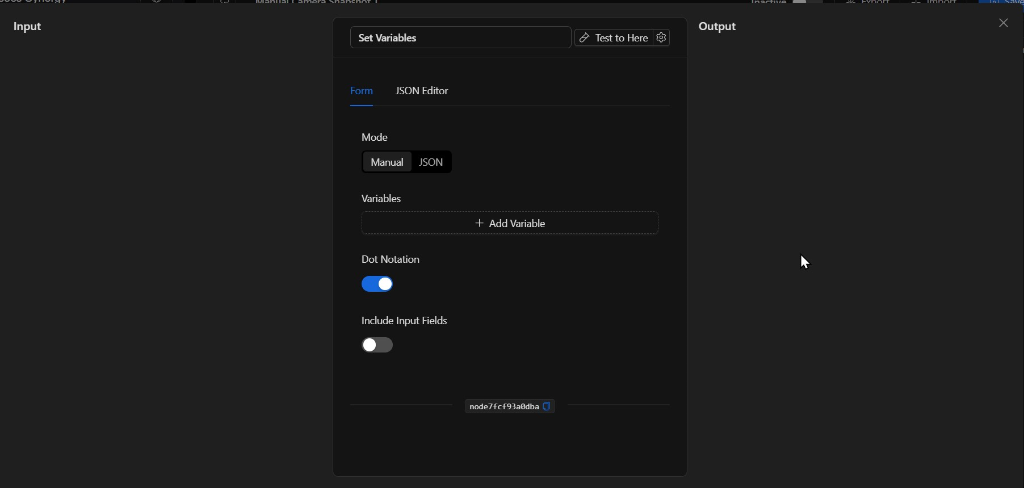
Form View
1. Mode
Allows you to choose how variables will be defined:
- Manual: Displays a table interface where you can add variables one by one by clicking the
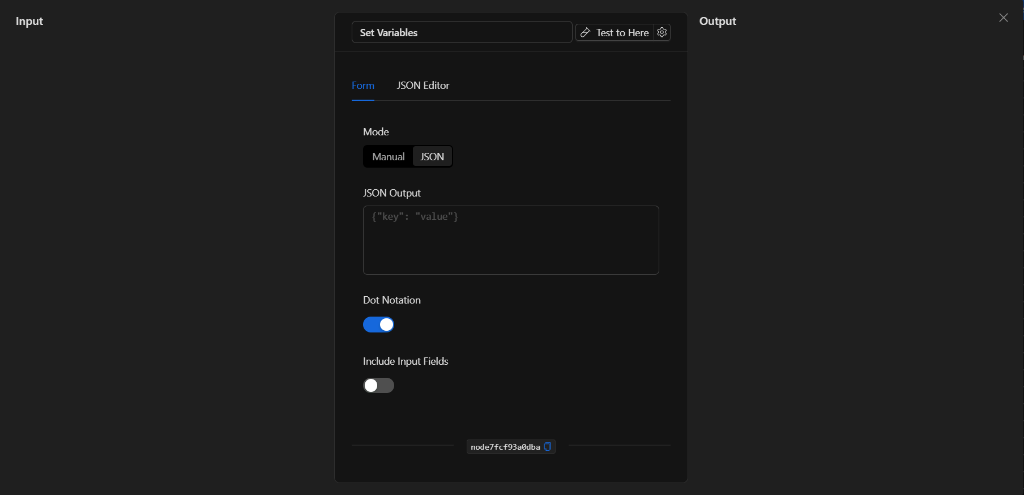
+ Add Variablebutton. Each variable consists of a name field (Key) and a value field (Value). - JSON: Displays a structured text box to define variables as properties of a flat JSON object.
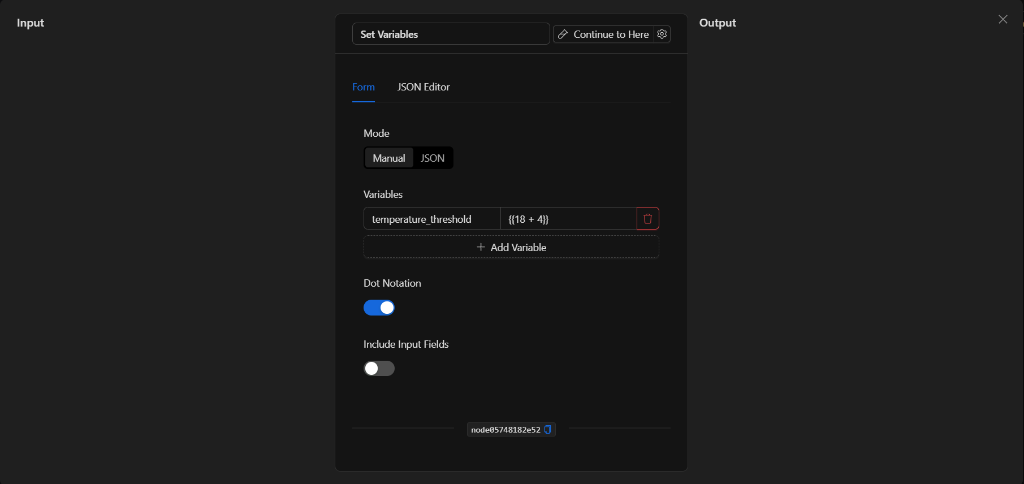
2. Variables
In Manual mode, you can define your key-value variables here.
Note: The value field (Value) supports template expressions (Value Templates), allowing you to perform operations or reference data from previous nodes (for example: key temperature_threshold and value {{18 + 4}}).
3. Dot Notation
This is a toggle switch.
- Enabled (default): Allows using dot notation to automatically create structured nested objects. For example, defining a variable with key
user.nameand valueJohn Doewill create the structured object{"user": {"name": "John Doe"}}. In the Output panel, nested objects are displayed as an expandable structure (user▸name: John Doe), not as flat text.
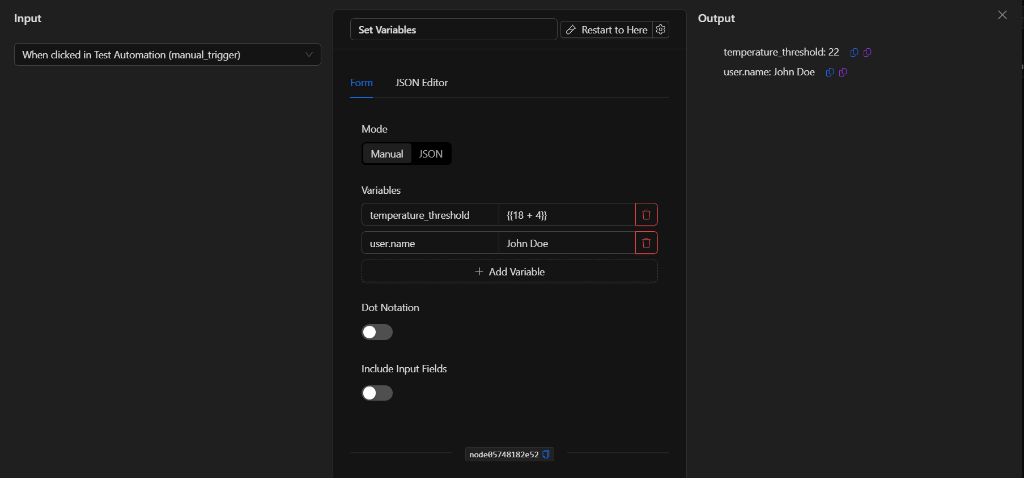
The following screenshot shows the result of a run with Dot Notation enabled (default), showing the structured nested object:

- Disabled: Treats keys with dots as flat literal keys, creating a literal key
"user.name": "John Doe".
The following screenshot shows the result of a run with Dot Notation disabled: the user.name key stays flat (user.name: John Doe) instead of becoming the nested user ▸ name object:
4. Include Input Fields
This is a toggle switch.
- Enabled: Inherits and merges all input fields (the incoming payload/context from previous nodes in the flow) into the output of this node.
- Disabled (default): Only exposes the variables explicitly configured inside this node in the output.
JSON Editor View
Under the JSON Editor tab, you can view and edit the raw code representation of the node, which is helpful for copying or making quick configurations in a structured format:
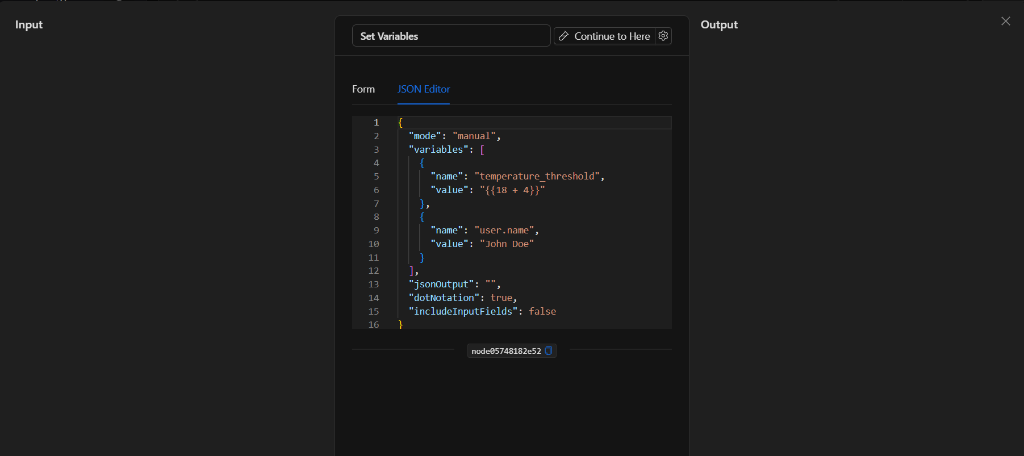
JSON Structure (Input parameters)
If you open the JSON Editor tab of the node, you will see its full configuration. Below is a real example with two variables defined:
{
    "mode": "manual",
    "variables": [
        {
            "name": "temperature_threshold",
            "value": "{{18 + 4}}"
        },
        {
            "name": "user.name",
            "value": "John Doe"
        }
    ],
    "jsonOutput": "",
    "dotNotation": true,
    "includeInputFields": false
}
JSON Fields
| Field | Type | Description |
|---|---|---|
mode |
string | Variable input mode. Values: manual or json. |
variables |
array (objects) | List of objects with the variable name (name) and its value (value), used in manual mode. |
dotNotation |
boolean | Enables (true) or disables (false) nested object structuring via dot notation. |
includeInputFields |
boolean | If true, merges the input context/payload into the final result. |
jsonOutput |
string | JSON content defined directly when mode is json. Empty ("") when using manual mode. |
Output: Where the Node Data Comes From
When the set variables node successfully finishes its execution, its Output will expose all the created variables with their corresponding evaluated and calculated values.
Output Example
With the example configuration (the variable temperature_threshold with value {{18 + 4}} to dynamically define the temperature alert threshold in degrees and the variable user.name with value John Doe, with Dot Notation enabled), the output panel will display the already-evaluated expressions and the nested object:
{
  "temperature_threshold": 22,
  "user": {
    "name": "John Doe"
  }
}
Using Variables in Later Nodes
To use these custom variables in any subsequent node of the automation flow, you must use template syntax referencing the node key (NodeKey) assigned to your Set Variables node.
Examples:
- To reference the variable
temperature_thresholdfrom the previous example:{{node_key.temperature_threshold}}(resolves to22). - If you created an object using dot notation (e.g., key
user.namewith valueJohn Doe):{{node_key.user.name}}(resolves toJohn Doe).
(Make sure to replace node_key with the actual key that the visual editor assigns to your node on the canvas).
Usage Examples
Example 1: Mathematical Operations and Dynamic Evaluation
Use Case: Calculate the duration of a dynamic delay based on a sum.
- Variables:
- Key:
total_duration - Value:
{{ 5 + 5 }}
- Key:
- Node Output:
{"total_duration": 10} - Later Use:
{{set_variables_node.total_duration}}(for example, in the duration field of a wait node).
Example 2: Concatenation and Text Formatting for Alerts
Use Case: Assemble a pre-formatted text string gathering data from the trigger to use in multiple notification sends (SMS, Telegram, Email).
- Variables:
- Key:
alert_message - Value:
Alert on device: {{trigger.object_name}} detected at {{trigger.datetime}}
- Key:
- Later Use: In the WhatsApp, Telegram, or Email nodes, simply use
{{set_variables_node.alert_message}}.