Video popup on a camera event
This guide shows how to build an A.T.O.X flow that automatically opens a camera's live video when that same camera generates an event, so the operator doesn't have to look for it manually.
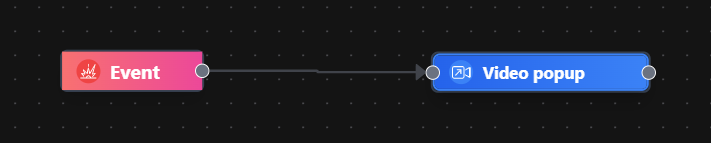
The flow has only two nodes:
Event → Video popup
The example uses a Hanwha camera and its person detection event: when the camera detects a person, its live video opens.
Step 1: Open the automations editor
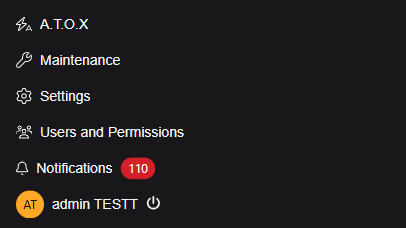
- In the left sidebar, click the automations section, labeled A.T.O.X.
- Click the
Create Automationbutton in the top-right corner.

Step 2: Add and connect the nodes
-
Open the node library with the blue
+button in the top-right corner of the canvas. -
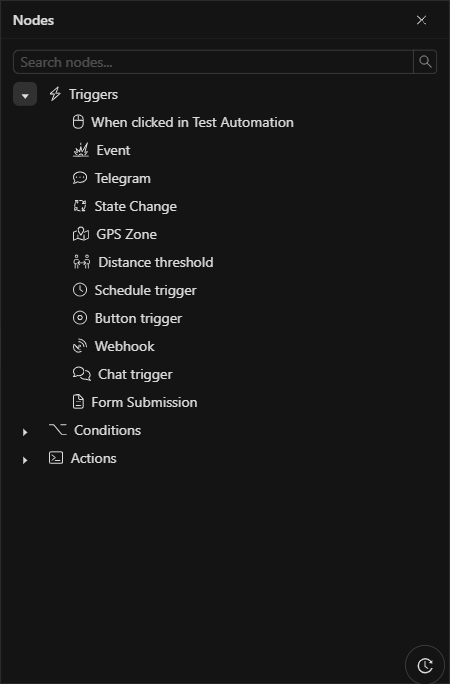
Add the trigger: expand the Triggers section and drag the
Eventnode onto the canvas.
- Add the action: in
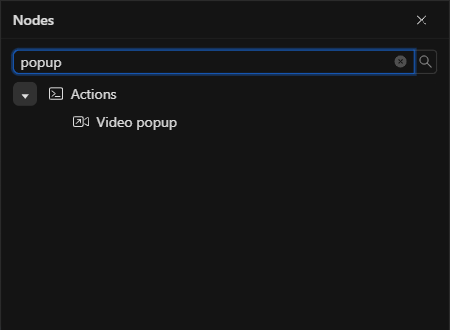
Search nodes...typepopupand drag theVideo popupnode, from the Actions section, onto the canvas.
- Connect them: close the library with the
X, then drag the output connector of theEventnode to the input connector of theVideo popupnode.
Step 3: Configure the Event trigger
Double-click the Event node and work in the Form tab.
3.1 Choose the event type
Click Select event types, search for your camera's event (in this example, Person Detection), check its box and confirm with OK.
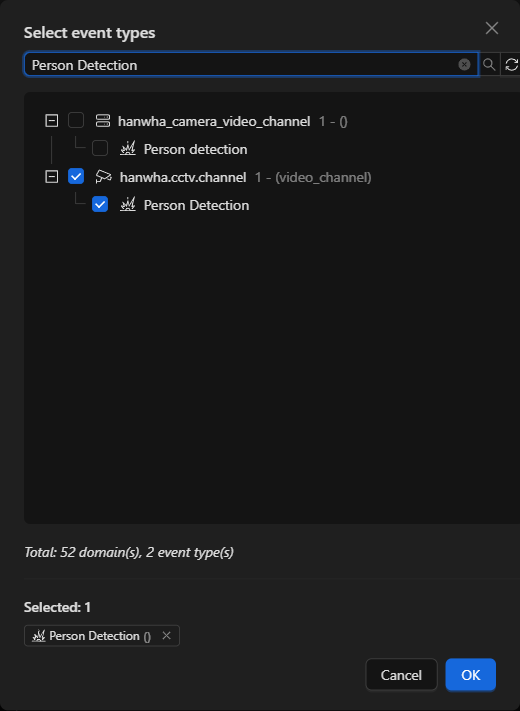
IMPORTANT: Look at the object type shown to the right of each domain. This example has two very similar matches:
hanwha_camera_video_channel(no object type) andhanwha.cctv.channel(video_channel). Always pick the domain marked as(video_channel): that is the one matching the actual video channels, and the one you will be able to narrow down by object in the next step.
3.2 Narrow the trigger down to the camera
If you leave the scope empty, the flow would fire on that event from any camera. To make the right camera open:
- Select the
Objectstab. - Search for your camera by name (in this example,
Hanwha camera) and expand it. - Scroll down to the
hanwha.cctv.channelfolder and check its video channel (here named0).
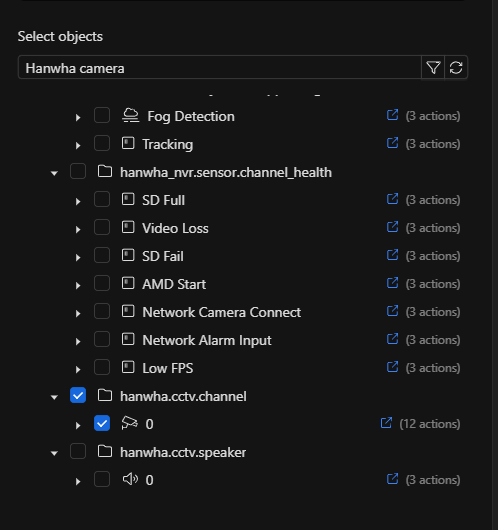
NOTE: A single device exposes several domains, and not all of them work here. This camera also publishes its analytics as sensors under
hanwha_nvr.sensor.analytics(Motion Detection, Tampering, and so on). Those objects are not video channels: they change state instead of emitting these event types, so triggering from one of them would require theState Changetrigger.
The panel then shows Objects (1) and the event type as a tag:
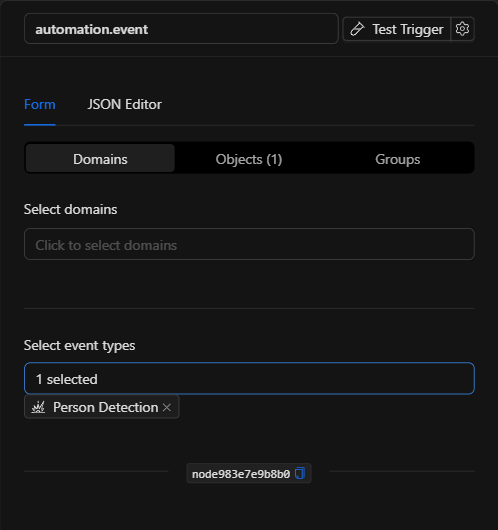
In the JSON Editor tab you can see what the node stores. Note that the event type is saved with its internal identifier and prefixed by the domain: the Person Detection option is stored as hanwha.cctv.channel.personDetection.
{
  "ruleSet": {
    "objects_id": ["hanwha.cctv.channel.1664.0"],
    "domains": [],
    "event_types": ["hanwha.cctv.channel.personDetection"]
  },
  "config": {}
}
Close the panel with the X. For the full reference of this node, see Trigger: Event.
Step 4: Configure the Video popup action
Double-click the Video popup node. Under Select one or more video channels, search for the camera and check the same channel you configured in the trigger.
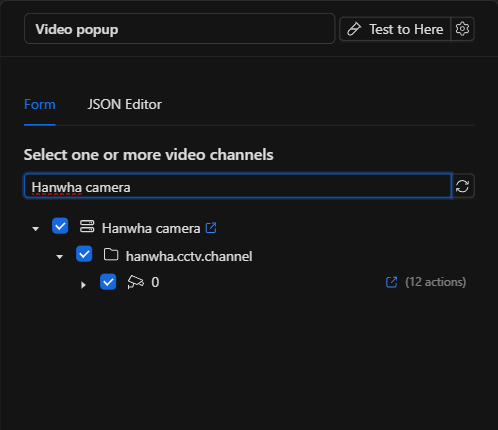
TIP: This tree is filtered to show video channels only; that is why the camera appears here without its sensors or its speaker.
The JSON stored by the node:
{
  "video_channel_ids": ["hanwha.cctv.channel.1664.0"]
}
Close the panel with the X. For the full reference of this node, see Video Popup Node.
Step 5: Name, save and activate
- Click the "New Automation" title in the top-left corner and type a descriptive name (for example,
Hanwha Person Popup). - Click
Save. - Switch the toggle from
InactivetoActiveso the flow starts listening for real events.

Step 6: Test the flow
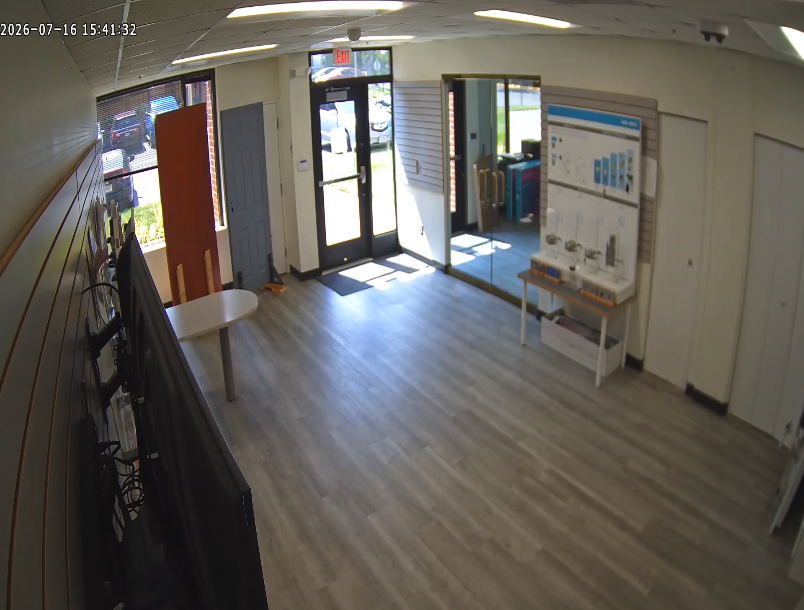
With the Event trigger, the automation runs when the camera actually generates the event: in this example, when a person walks into its field of view. A separate 800×600 browser window then opens with the channel's live video:
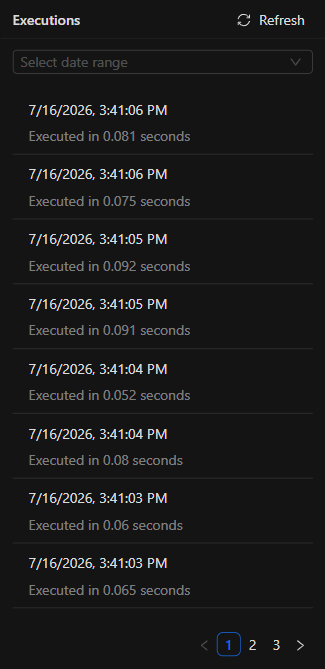
The Executions tab of the editor lets you review the history of each run:
TIP: The
Test Automationbutton also works, but it will ask you to deactivate the automation to enter test mode, and it will wait for the next real event from the camera. When you are done, remember to switch it back toActive.
Keep in mind
- The operator must be logged in. They can be on any page of the system, but if nobody is connected, the event passes without leaving a pending window.
- The window is shown to every connected user; today it cannot be targeted at a specific user or role.
- The browser's popup blocker can prevent it. This is the most common reason for "nothing happens": allow popups for your instance's domain.
- It only shows live video, not the recording of the moment the event occurred.