Documentation: Milestone XProtect Dispatch Alarm Node
Overview
The Milestone XProtect Dispatch Alarm Node is an integration action node that creates and sends an alarm to the Milestone XProtect VMS (Video Management System). It allows events detected in Netsocs Synergy to be reflected as alarms within the Milestone video surveillance platform, integrating both systems into a unified workflow.
In installations where Milestone XProtect is the central video management system, this node allows the automation logic of Netsocs (for example, IoT sensor correlation) to generate actionable alarms directly in the Milestone operators' console.
When to use this node?
Use this node when you need to:
- Generate an alarm in Milestone XProtect from an event detected in Netsocs (IoT sensor, analytics, event correlation).
- Unify alarm management in the Milestone VMS when it is the main system of the control center.
- Associate the alarm with specific Milestone video channels (cameras) as alarm sources.
- Classify and assign the alarm (type, class, state, responsible party) for management in Milestone.
Node Configuration
The node has two configuration tabs at the top: Form and JSON Editor. The form is organized into three selectable sections: Alarm Details, Classification, and Workflow.
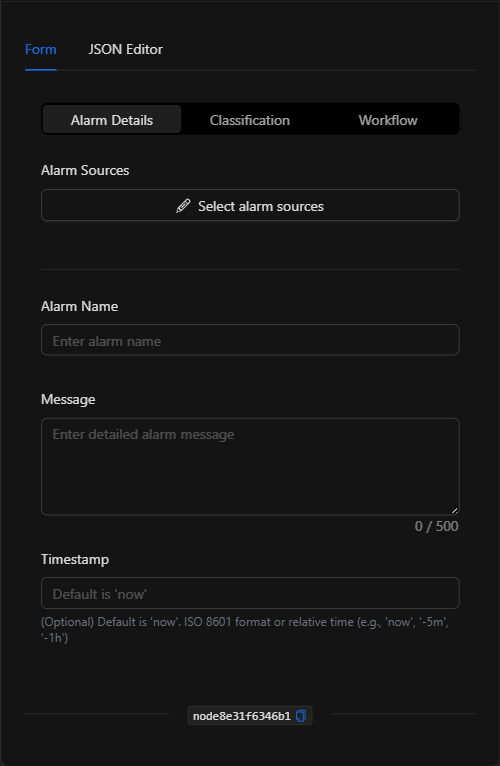
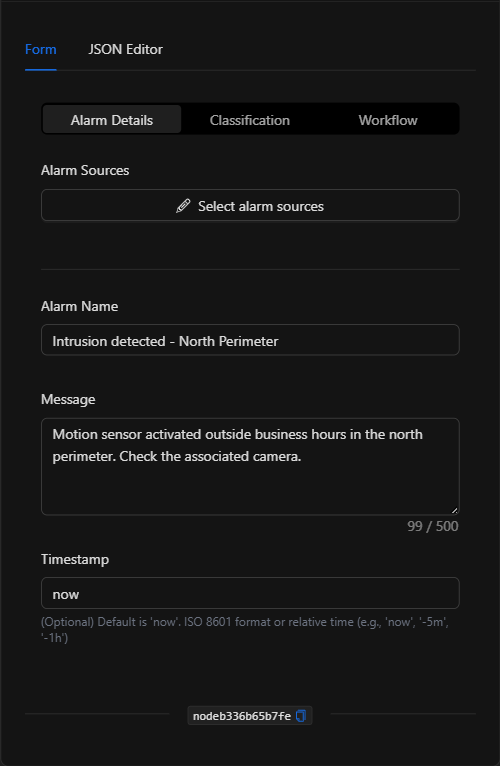
Section: Alarm Details
1. Alarm Sources
Click Select alarm sources to open the selector and choose the Milestone XProtect video channels that will be the alarm sources (the associated cameras).
2. Alarm Name
The identifying name of the alarm (for example, Intrusion detected - North Perimeter).
3. Message
A detailed description of the alarm (up to 500 characters).
4. Timestamp *Optional
The date/time of the alarm. Defaults to now. Accepts ISO 8601 format or relative time (for example, now, -5m, -1h).
Section: Classification
- Alarm Type: Category of the alarm (for example, Motion Detection, Intrusion, Fire).
- Alarm Class: Severity/class (for example, Critical, Warning, Info).
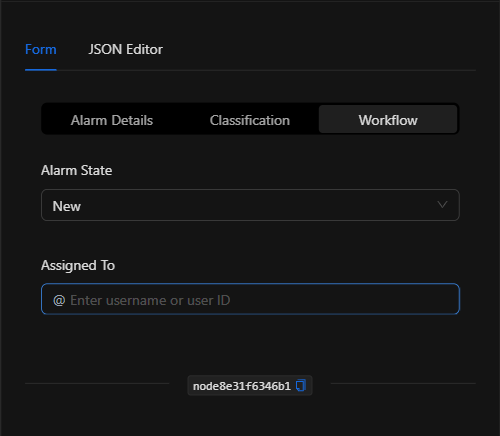
Section: Workflow
- Alarm State: Initial state of the alarm in Milestone. Options: Any (0), New (1), In progress (4), On hold (9), Closed (11).
- Assigned To: User (name or ID) responsible for handling the alarm.
JSON Editor View
In the JSON Editor tab you can view and directly edit all alarm parameters:
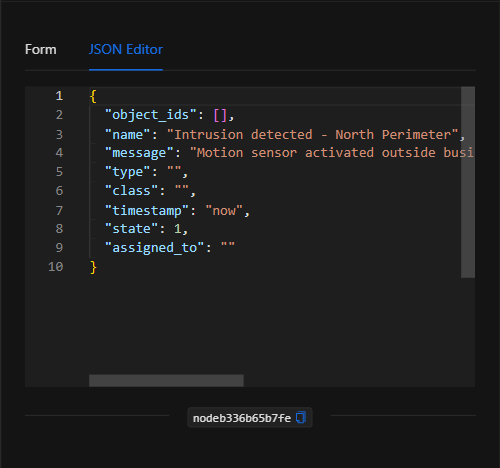
JSON Structure (Input Parameters)
Below is the JSON structure generated when configuring the node:
{
  "object_ids": [],
  "name": "Intrusion detected - North Perimeter",
  "message": "Motion sensor activated outside business hours in the north perimeter. Check the associated camera.",
  "type": "",
  "class": "",
  "timestamp": "now",
  "state": 1,
  "assigned_to": ""
}
JSON Fields
| Field | Type | Description |
|---|---|---|
object_ids |
array (string) | IDs of the Milestone video channels that are the alarm sources. |
name |
string | Name of the alarm. |
message |
string | Detailed message/description (max. 500 characters). |
type |
string | Alarm type (e.g. Intrusion, Fire). |
class |
string | Class/severity (e.g. Critical, Warning). |
timestamp |
string | Timestamp. now by default; ISO 8601 or relative time. |
state |
number | Initial state: 0 (Any), 1 (New), 4 (In progress), 9 (On hold), 11 (Closed). |
assigned_to |
string | User (name or ID) assigned to the alarm. |
Output: Where the node's data comes from
When the action executes successfully, the alarm is registered in Milestone XProtect and the node finishes marked as successful (green border). The alarm appears in the Milestone alarm management console for handling.
NOTE: This node requires the Milestone XProtect VMS integration to be configured and its driver connected.
Usage Examples
Example 1: Create an alarm in Milestone for a perimeter intrusion
Use case: A Netsocs perimeter motion sensor detects activity outside of business hours; an alarm is dispatched to Milestone associated with the camera covering the area, so that the VMS operator can handle it.
- Alarm Sources: Milestone video channel of the perimeter camera.
- Alarm Name:
Intrusion detected - North Perimeter - Type:
Intrusion| Class:Critical| State:New
Configuration JSON:
{
  "object_ids": ["<milestone_video_channel_id>"],
  "name": "Intrusion detected - North Perimeter",
  "message": "Motion sensor activated outside business hours.",
  "type": "Intrusion",
  "class": "Critical",
  "timestamp": "now",
  "state": 1
}
Example 2: Fire alarm assigned to an operator
Use case: Upon a signal from a fire detector, a critical alarm is created in Milestone already assigned to the on-duty operator.
- Type:
Fire| Class:Critical| Assigned To: On-duty operator.
Validation and Errors
| Condition | Common cause / fix |
|---|---|
| The alarm does not appear in Milestone | Verify that the Milestone XProtect integration/driver is configured and connected. |
| Invalid sources | Make sure to select video channels that belong to the Milestone XProtect domain. |
| State not accepted | Use one of the valid state values (0, 1, 4, 9, 11). |
Best Practices
- Associate the correct camera: Select as the source the Milestone video channel that actually covers the zone of the event.
- Classify consistently: Define conventions for
typeandclassso that alarms in Milestone are filterable and prioritizable. - Assign responsible parties: Use
assigned_toto direct the alarm to the appropriate operator and speed up its handling. - Name the node descriptively: Change the node's name on the canvas (e.g. "Milestone alarm - perimeter") to identify it in the flow.