Add my first device
In this guide we will integrate an IP camera into Netsocs using the ONVIF standard driver. By the end, the device will be registered on the platform and its objects will be available for monitoring and automations.
Prerequisite: The Site Manager must be installed, configured, and in Connected state before continuing. Refer to the Netsocs Site Manager guide if you have not completed that step yet.
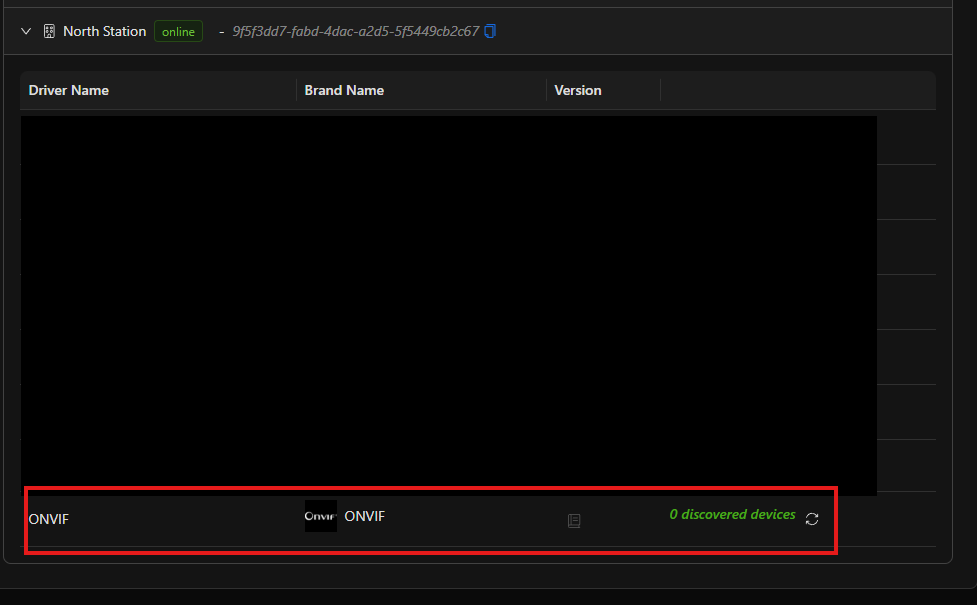
Step 1: Install the ONVIF driver
The ONVIF driver is the module that allows Netsocs to communicate with cameras that implement the ONVIF standard. If it is already installed, skip to the next step.
- Go to Settings → Drivers.
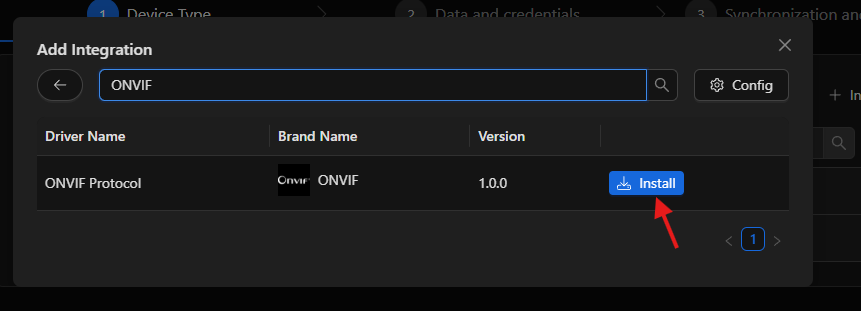
- Find the ONVIF driver in the available catalog.
- Click Install and wait for the process to complete.
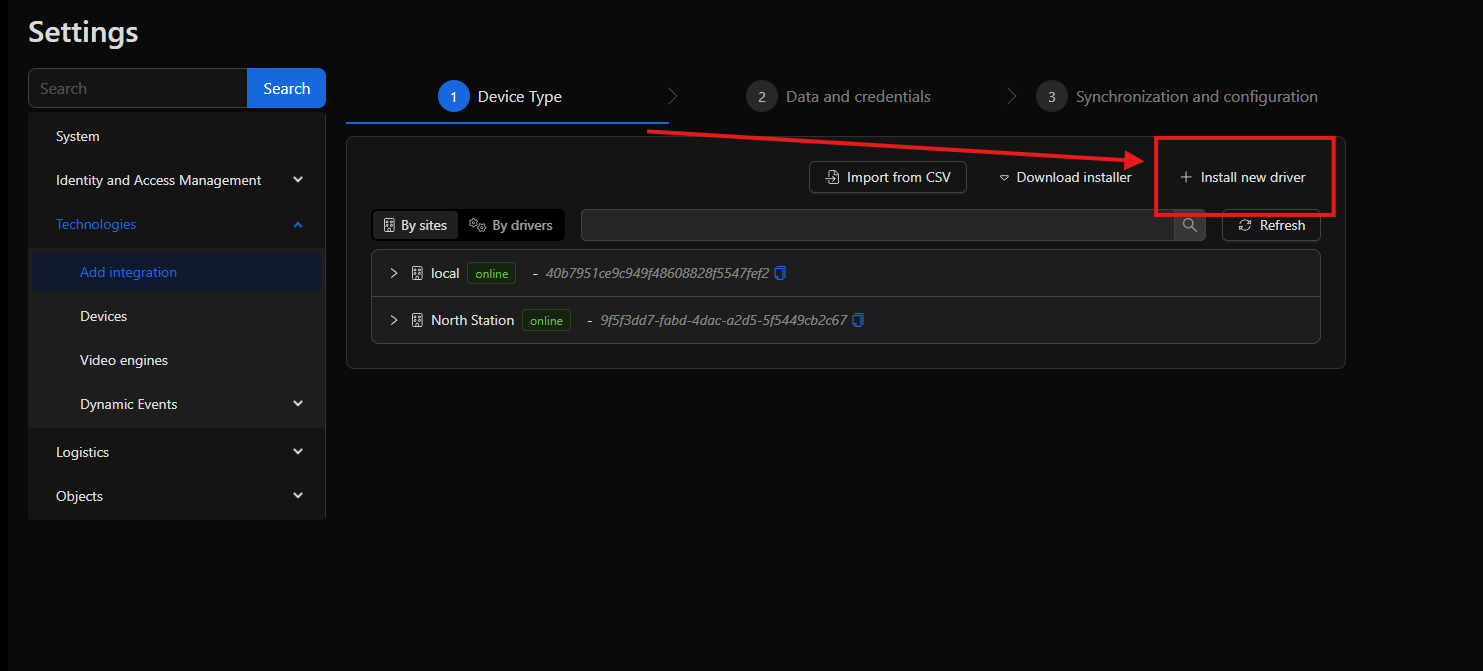
Once installed, the driver will appear in the list with status Running.
Note: If the driver enters an error state after installation, verify the Site Manager's connectivity to the hub and try again.
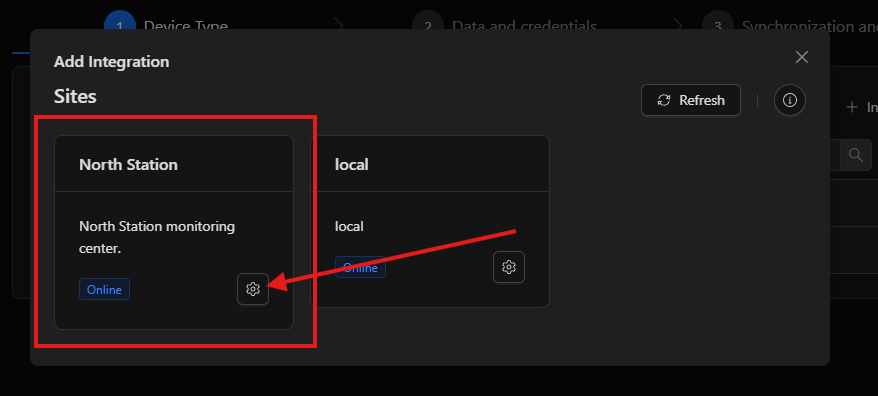
Step 2: Access device management
- Go to Settings → Technologies.
- Select the corresponding site from the list of registered sites.
- Click Add device.
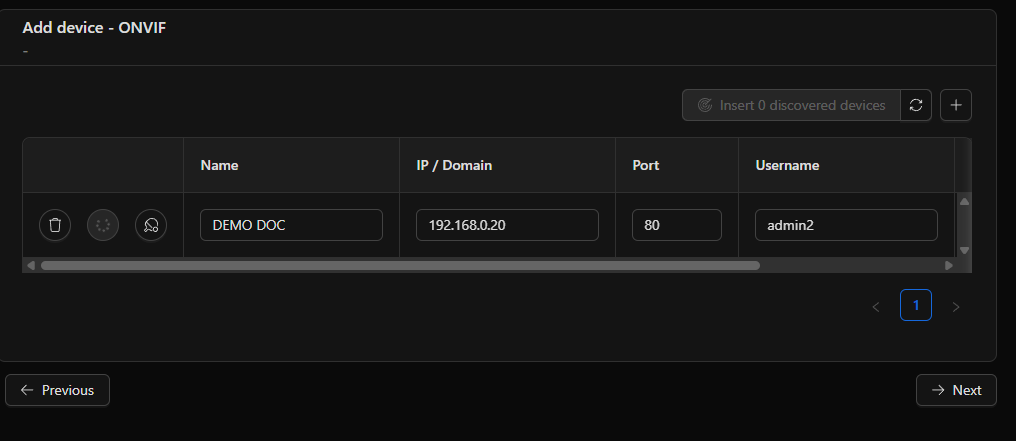
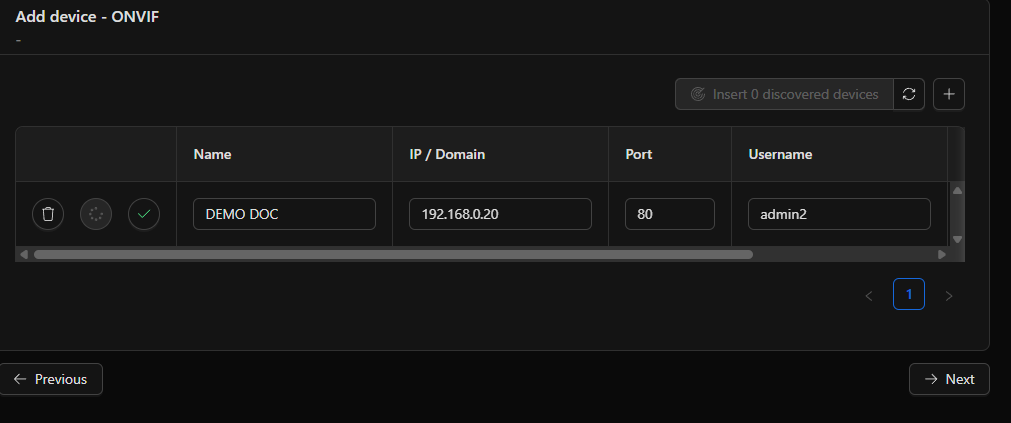
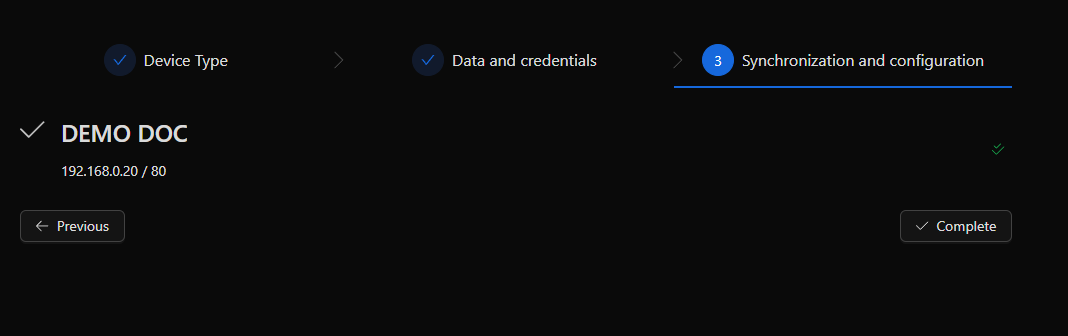
Step 3: Configure the new device
The device creation form will open. Fill in the fields with your camera's details:
| Field | Description |
|---|---|
| Name | Descriptive name to identify the camera on the platform (e.g., Main Entrance Camera). |
| Driver | Select ONVIF from the list of available drivers. |
| IP Address | IP address of the camera within the local network. |
| Port | ONVIF port of the camera. The standard value is 80; some manufacturers use 8080 or 2020. |
| Username | Username configured on the camera. |
| Password | Password associated with the specified user. |
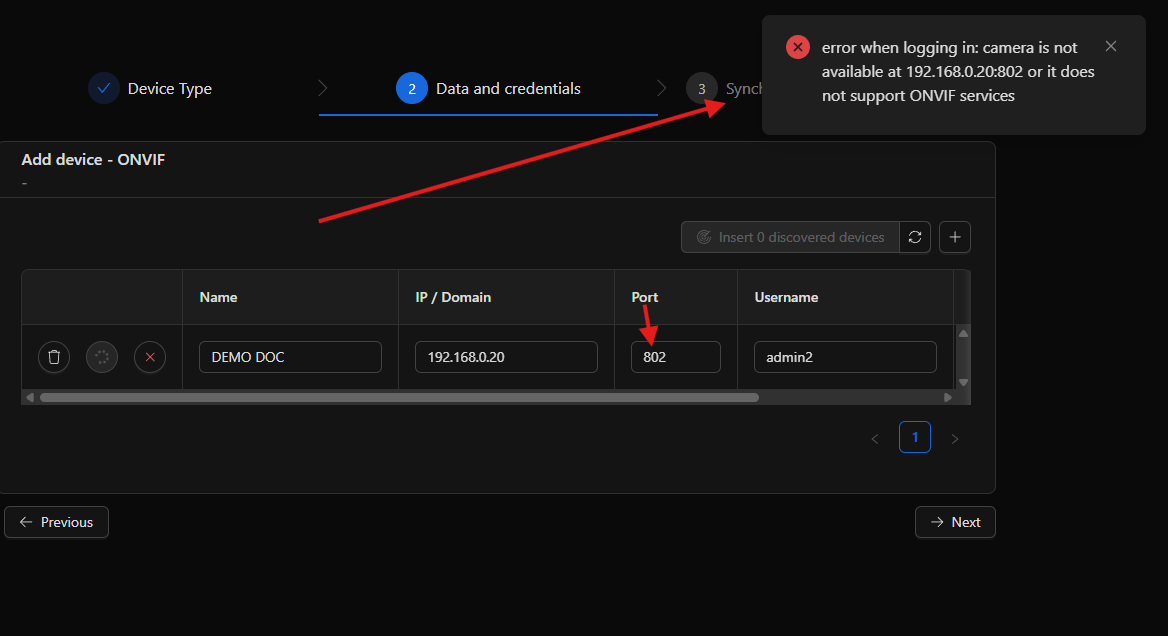
Step 4: Select the ONVIF profile
After entering the credentials, click Get profiles. Netsocs will connect to the camera and list the available video profiles.
Select the desired profile and click Save.
Tip: If the camera exposes multiple profiles, choose the highest resolution one for the main channel and reserve lower-resolution profiles for secondary or mobile streams.
Step 5: Verify device integration
Once saved, the device will appear in the site's technology list. Verify that its status is Online.
If the status is Offline or Error:
- Confirm the camera is reachable from the Site Manager's network.
- Verify that the credentials entered are correct.
- Make sure the ONVIF port configured on the camera matches the one entered in the form.
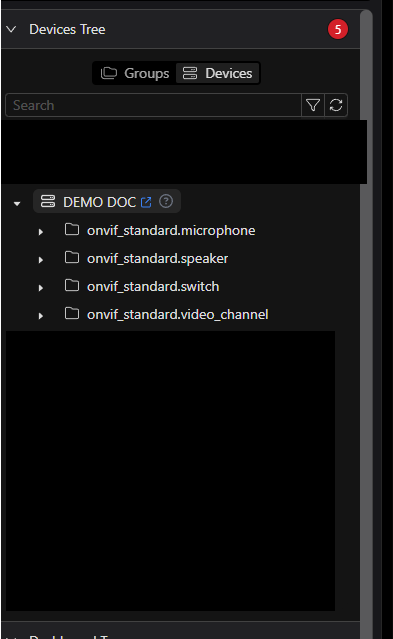
Step 6: Review the created objects
When the device is registered, Netsocs automatically creates the objects that represent the capabilities detected on the camera (video channels, motion detection, digital inputs, etc.).
- Go to Settings → Objects.
- Filter by the newly created device.
Each object can be assigned to a Domain, renamed, and configured to participate in automations or visualizations.
Step 7: View video in the interface
With the device integrated, the video channel is now available in the Video Grid.
- Go to the Video Grid module from the main menu.
- Drag the camera channel into a grid cell.
Result
The camera has been successfully integrated into Netsocs. From this point you can:
- Include its video channel in synoptics and maps.
- Configure automations based on motion detection events.
- Review historical recordings from the Playback module.